8. Rehearsal Dinner
If you can't host it, practice it.
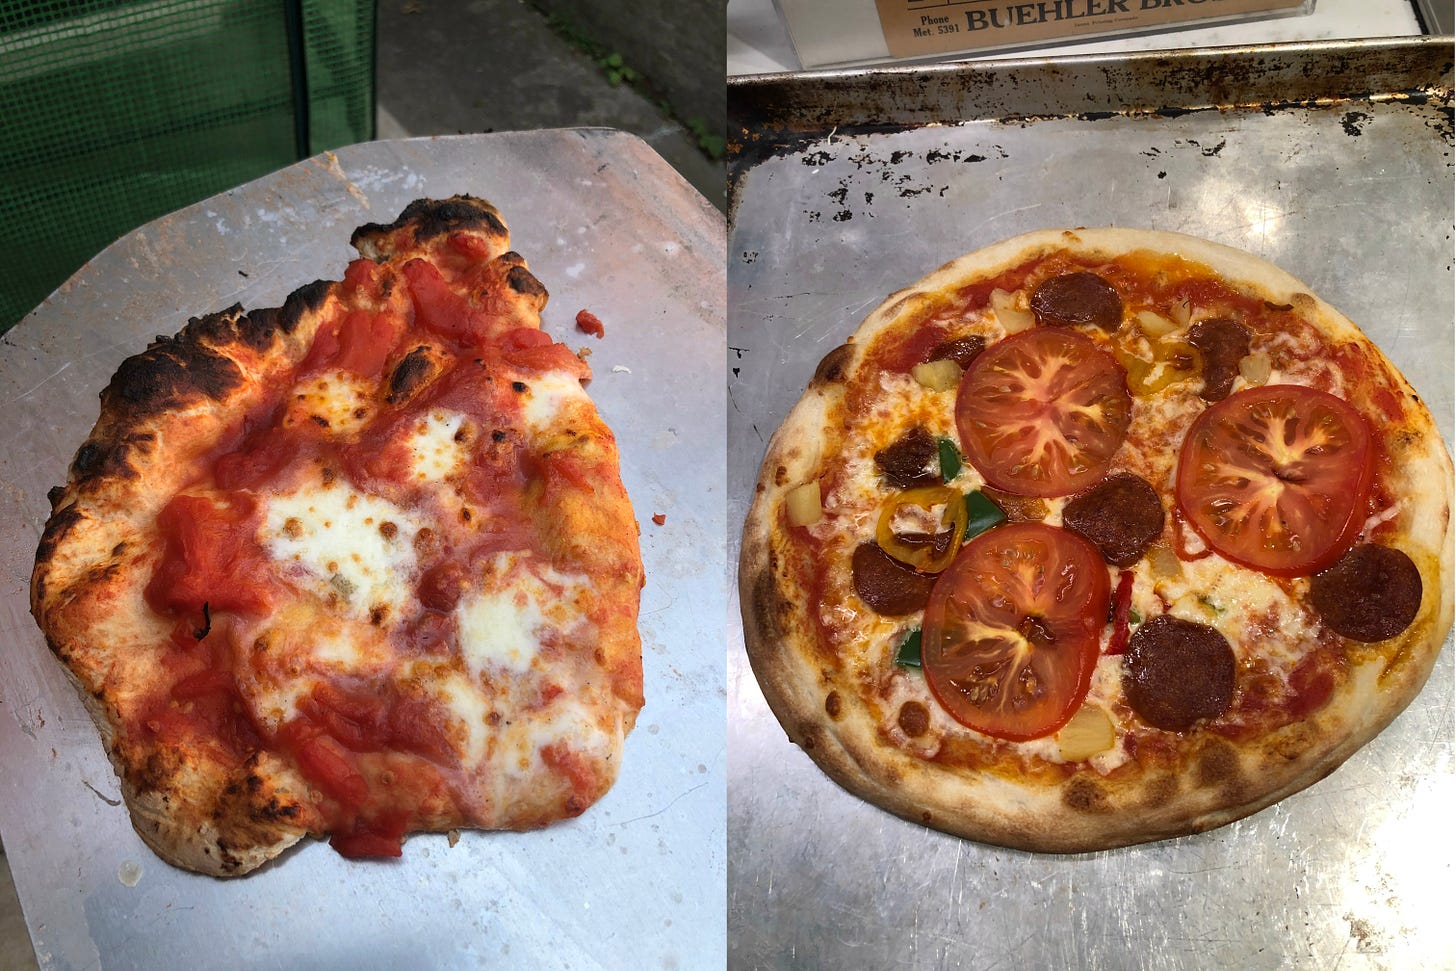
One of the few upsides to the isolation of the pandemic has been the explosion of new skills people have been developing. Sourdough bread, of course. Painting. Embroidery. Gardening. Driving with the parking brake engaged. It’s an endless list, really. I’m particularly proud of how my pizza-making skills, both in my outdoor pellet-fired Ooni oven and in our regular indoor oven, have been coming along. They’re now almost uniformly round instead of the many more free-form ones I was making in the summer.
It’s kind of a drag that the only people I make them for is Beth and me. But when the day comes that we can host people in our home again, I will be ready to sling some great pies.
It’s often said that if you’re having people over for dinner, you should never make something you haven’t made before. Consider these times as your ultimate opportunity to get your showstopper dishes down pat. Practice now so when the time comes (It is coming, right?), your guests won’t know what hit them.
One of the dishes that I keep up my sleeve for when we have people over is roast chicken. I know, I know, everyone who writes about food has a roast chicken recipe. Didn’t Michael Ruhlman write (in a very on-brand way) ten years ago that you should put the chicken in the oven and then go have sex. (The roast chicken at Sting’s house must be absolutely god-awful.) Didn’t Helen Rosner write just a few years ago about how to use a hair dryer to get the crispiest possible skin?
Yes.
But here’s the thing: mine’s better.
I say “mine” but of course, almost every part of it is stolen from someone else’s method, particularly Judy Rodgers Zuni Café roast chicken and bread salad (and by extension so is Rosner’s Roast Chicken à la Dyson, which starts there as well) and J. Kenji Lopez-Alt’s method from the March-April 2008 issue of Cook’s Illustrated. (Membership required)
Any well-made roast chicken is already a nearly perfect food. What all of these recipes are trying to do is nudge it just a little closer to perfection. I estimate my way gets it to around 99 44/100% perfect. (Or as The Good Place might put it, “about 4 Oreos from Heaven.”)
While people go on and on about “the simple pleasure of a roast chicken,” my method is not simple. It is not incredibly complicated, but it does have many steps and requires you to plan at least a day ahead. I can assure you it is worth it.
But maybe now is a good point to stop and define what a perfect roast chicken is. How does this list of criteria strike you?
Meat that actually tastes like something that’s
Cooked to a safe temperature without drying out with
Skin so crisp and flavourful you cannot stop yourself from eating an entire neck’s worth while packing up leftovers after dinner.
Sound like a plan? Good. Let’s get down to it.
The 0.44% Better Chicken
1. Buy a good chicken.
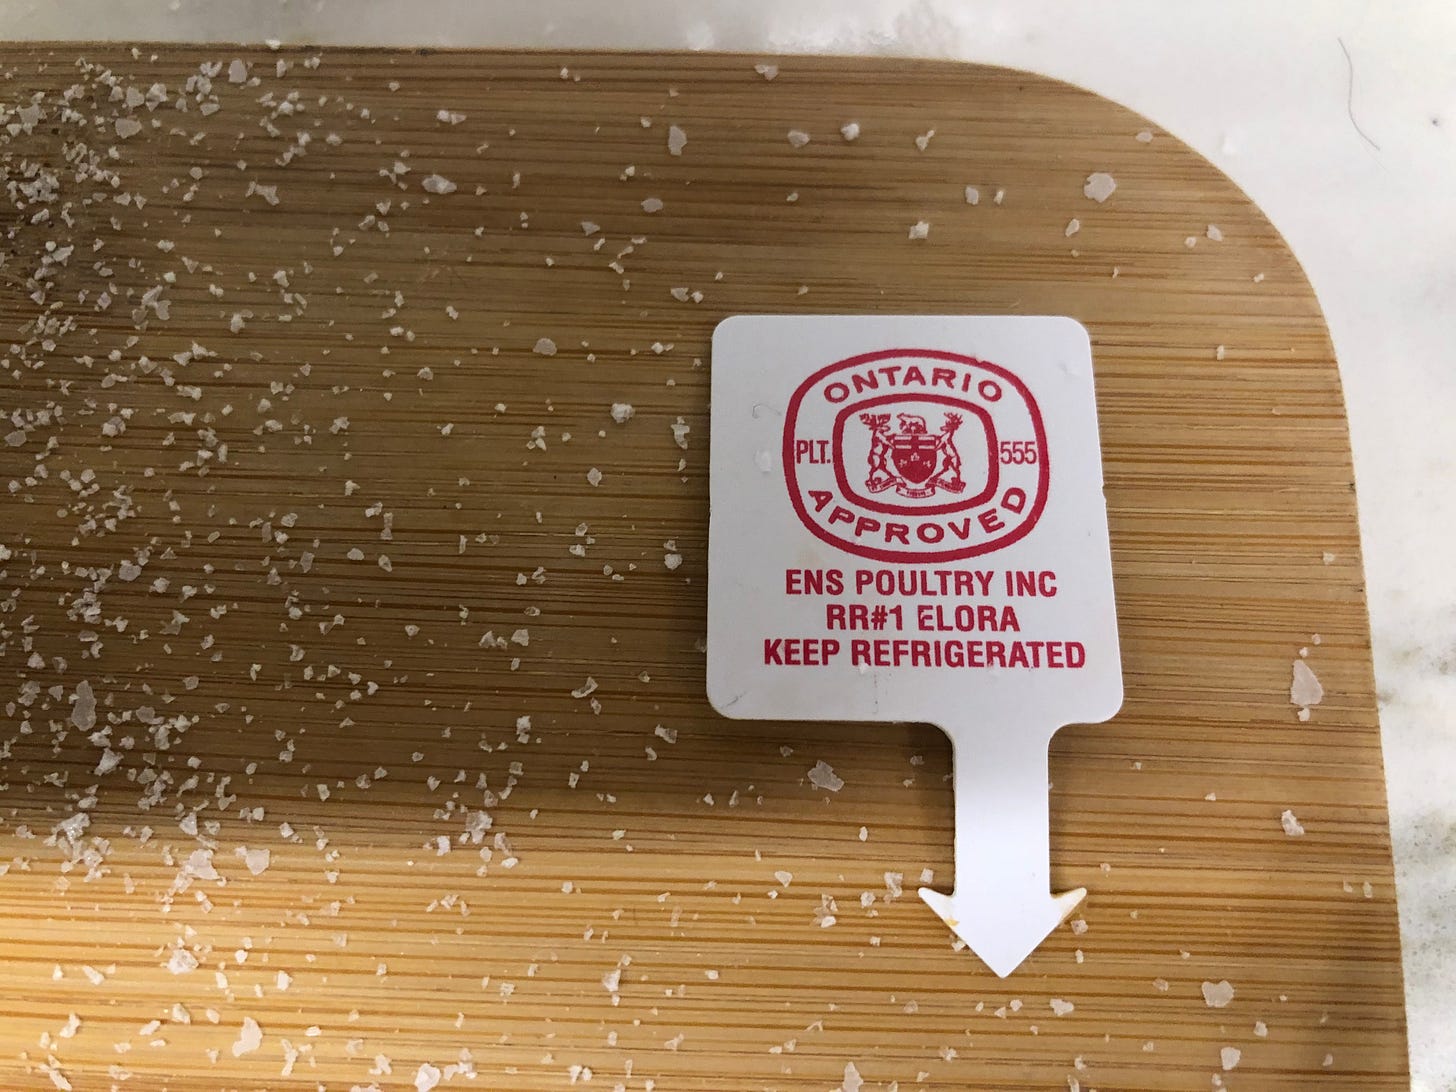
At least one day before you want to cook it, buy a good chicken. You can make a decent meal with a supermarket bird, but it will never be transcendent. It’s also the product of a horrible system that is demeaning to both the chickens and the humans who subject them to such treatment. When food is cheap, someone else is paying for it, often the animal or the person processing it.
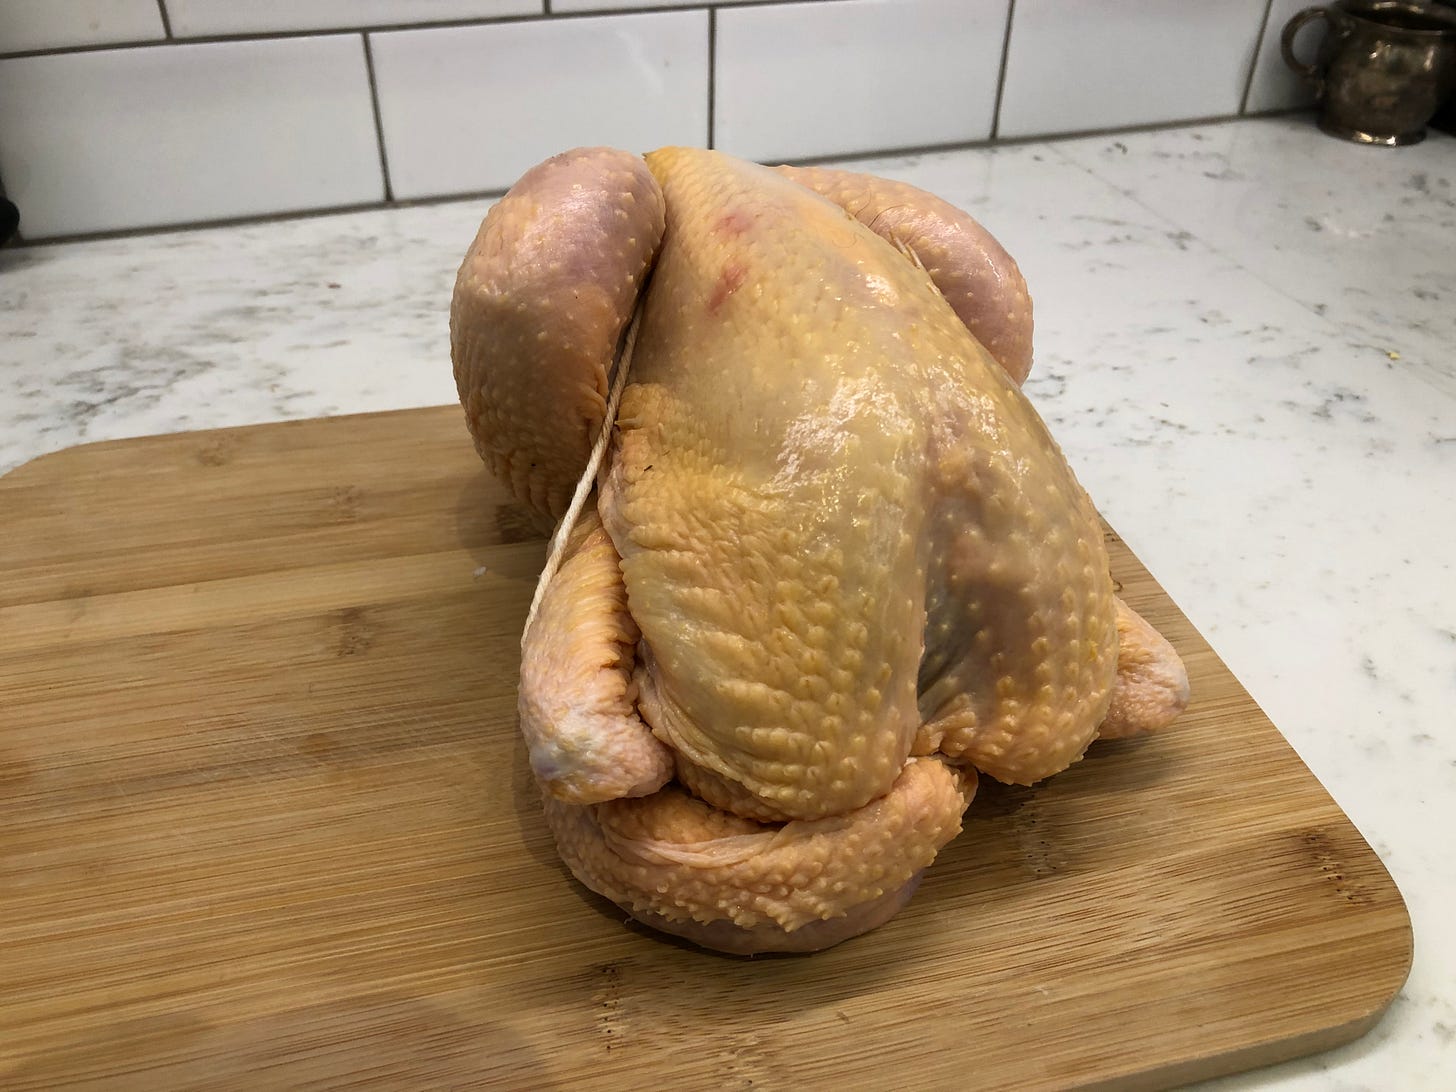
If you can find one, buy a longer, leaner, heritage bird whose skin and fat are golden yellow from pecking at marigolds and other goodies in the field. In Toronto, the Rhode Island Reds from Sanagan's are the greatest chickens available, hands-down. There’s a container in our fridge of the fat that’s left in the pan labelled “Chicken Gold.”
If you can’t find a heritage breed, find the most ethically-raised chicken you can. Free-range or free-run are good choices. In Toronto or Dundas, that’s probably Cumbrae’s, who somehow only charge around $4.99/lb for a truly superior air-chilled (but not heritage breed) bird.
I much prefer smaller birds between two and three pounds. If you’re feeding a crowd, buy multiple small birds instead of getting one larger one. Two should fit in a standard oven pretty easily. You can buy it one day in advance, but there’s nothing wrong with buying it even three days ahead of time. It will only work in your favour.
2. Salt early and generously.
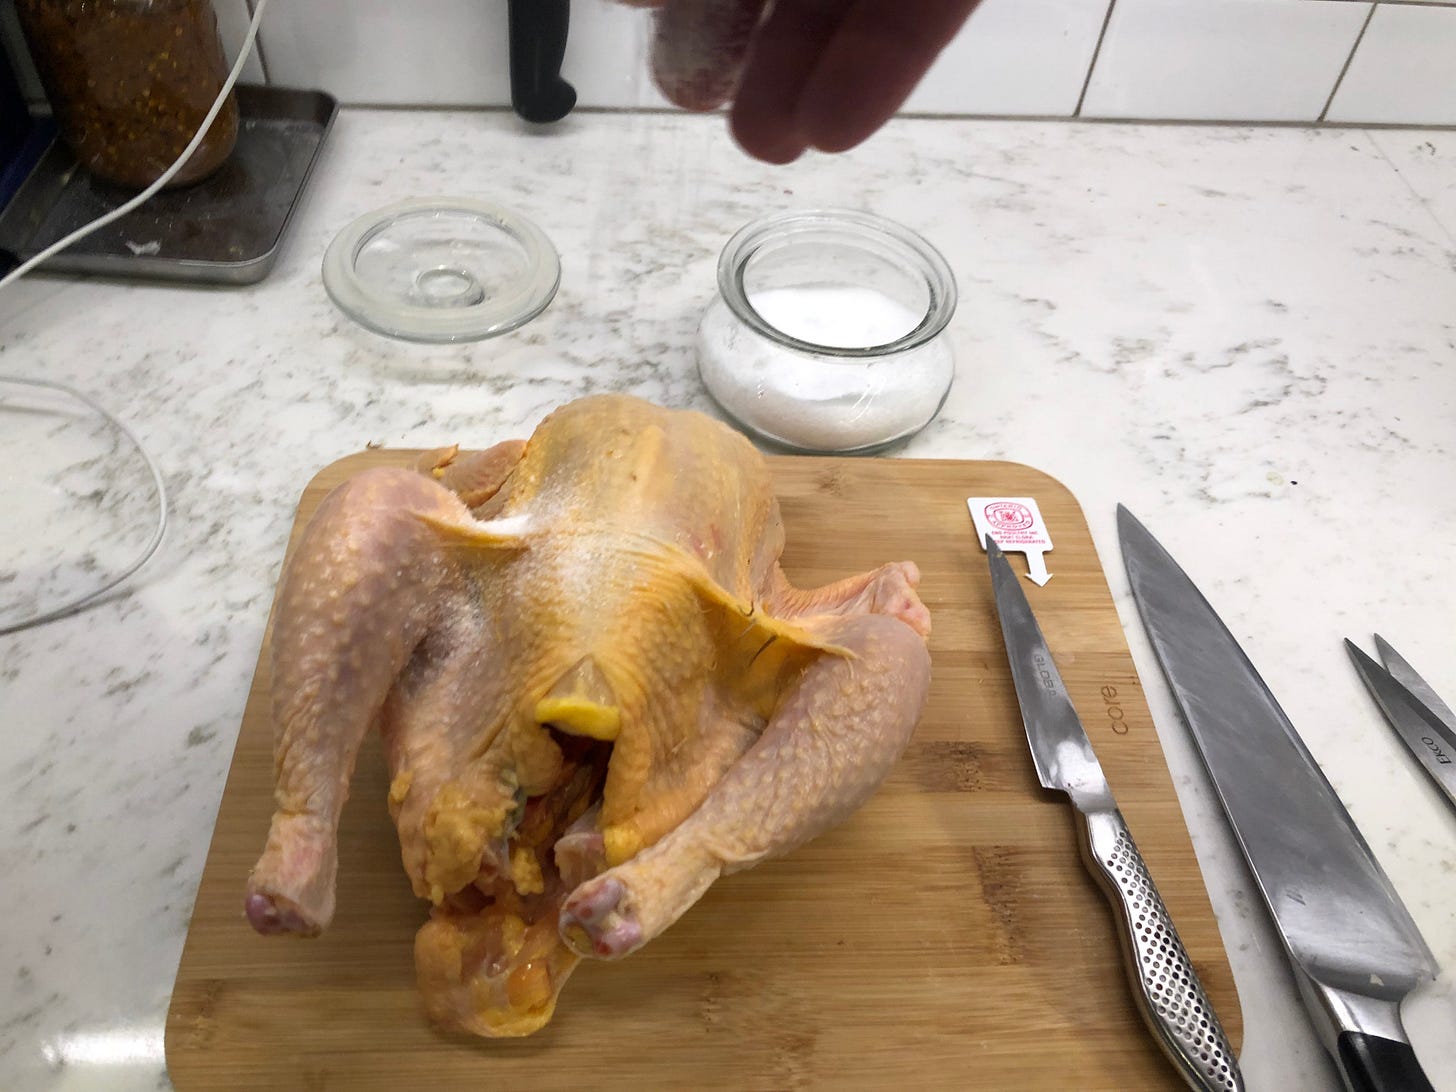
To get flavour deep into the bird, Rodgers has you salt it generously as far in advance as possible. This draws moisture from the bird, which dissolves the salt and then is reabsorbed, carrying that seasoning well below the surface of the meat. Don’t cake it in salt, but you need not be timid either. Three or four big pinches per side and one or two in the cavity should be fine.
3. Give rendered fat somewhere to go.
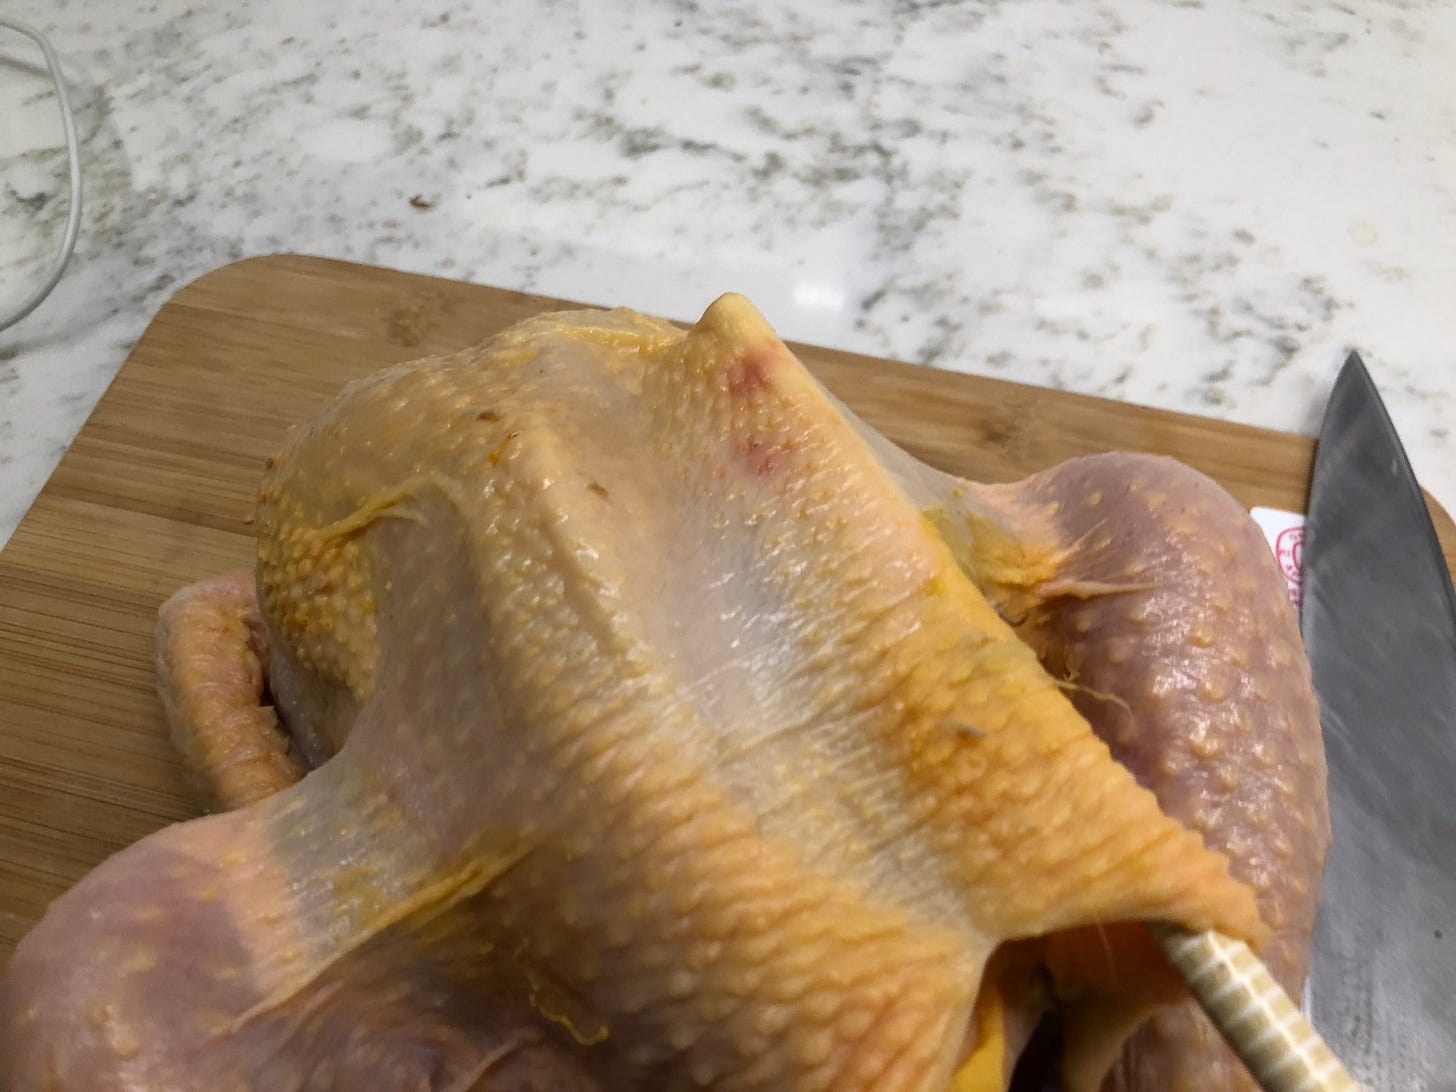
We give the fat several different ways to escape, which helps the skin to crisp. Simply creating space between the skin and the meat helps. I’ve always used my fingers to get under the skin of the breast and thighs from the cavity end, but this can result in the skin tearing, leaving part of the chicken unprotected and prone to drying out. I recently realized that you don’t actually have to get under the skin to separate it. Just by pinching the skin and pulling up, you can create good separation without having to get all up in the chicken’s business.
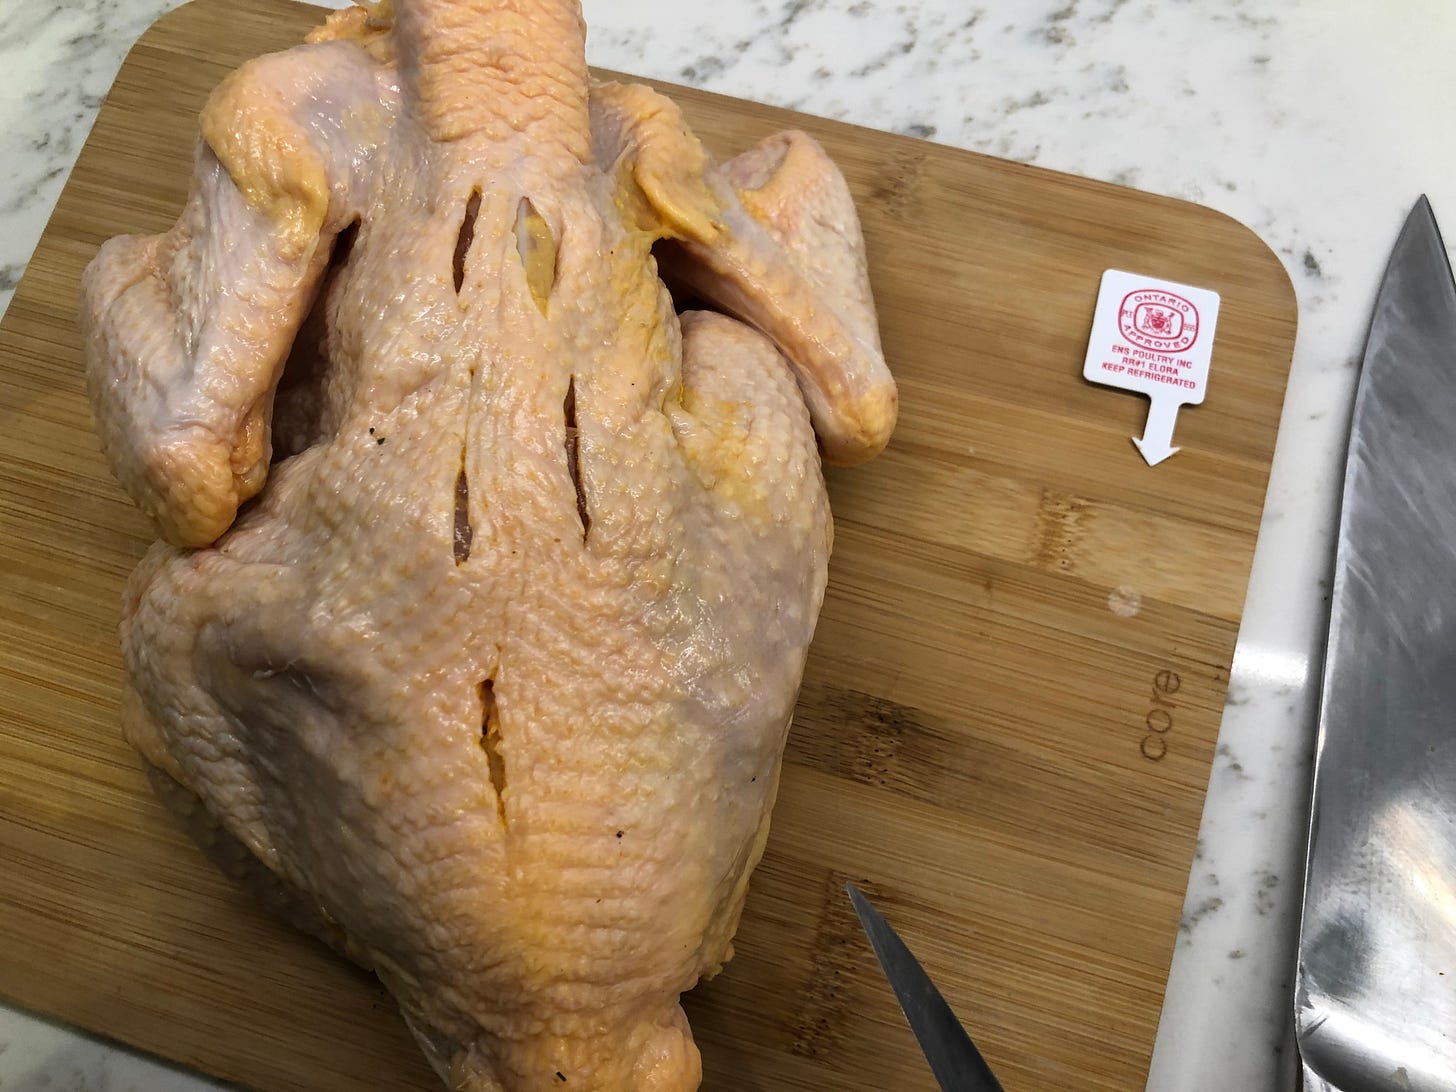
Lopez-Alt’s 2008 article has you cut channels along the backbone and repeatedly prick the deposits of fat that are visible through the breast and thigh skin with the tip of a knife, which also lets rendered fat drain away.
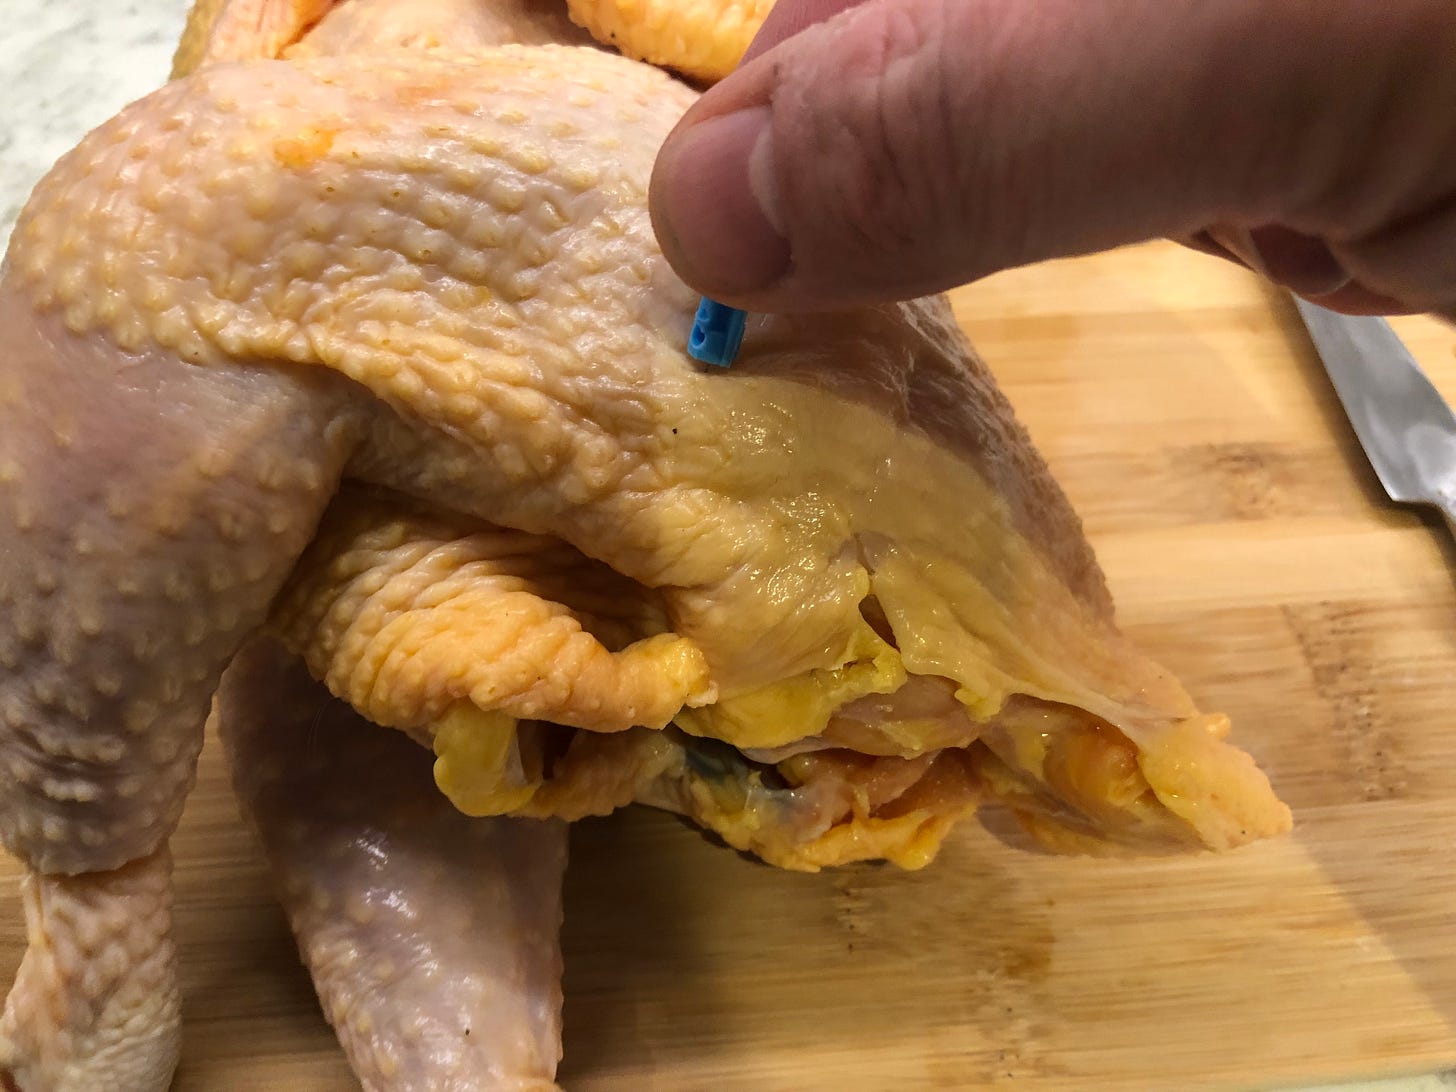
Here’s one place it’s possible to veer off excessively and unnecessarily into a whole other level of fussiness. Using a knife to prick the skin is fine, but it’s easy to go too deep and pierce the meat as well. I’ve recently started using the lancets used for blood tests to do this job.
They are incredibly sharp, so they don’t tear the skin. (It’s almost like their entire job is piercing skin.) And the needle is very short, so it is less likely to nick the meat. But a nice pointy knife tip will still do fine.
4. Get the skin as dry as possible.
Skin that contains water can’t crisp. Relying on your oven to remove moisture from it risks overcooking. Instead, we’re going to use the incredibly dry, circulating air in the fridge to do it ahead of time.
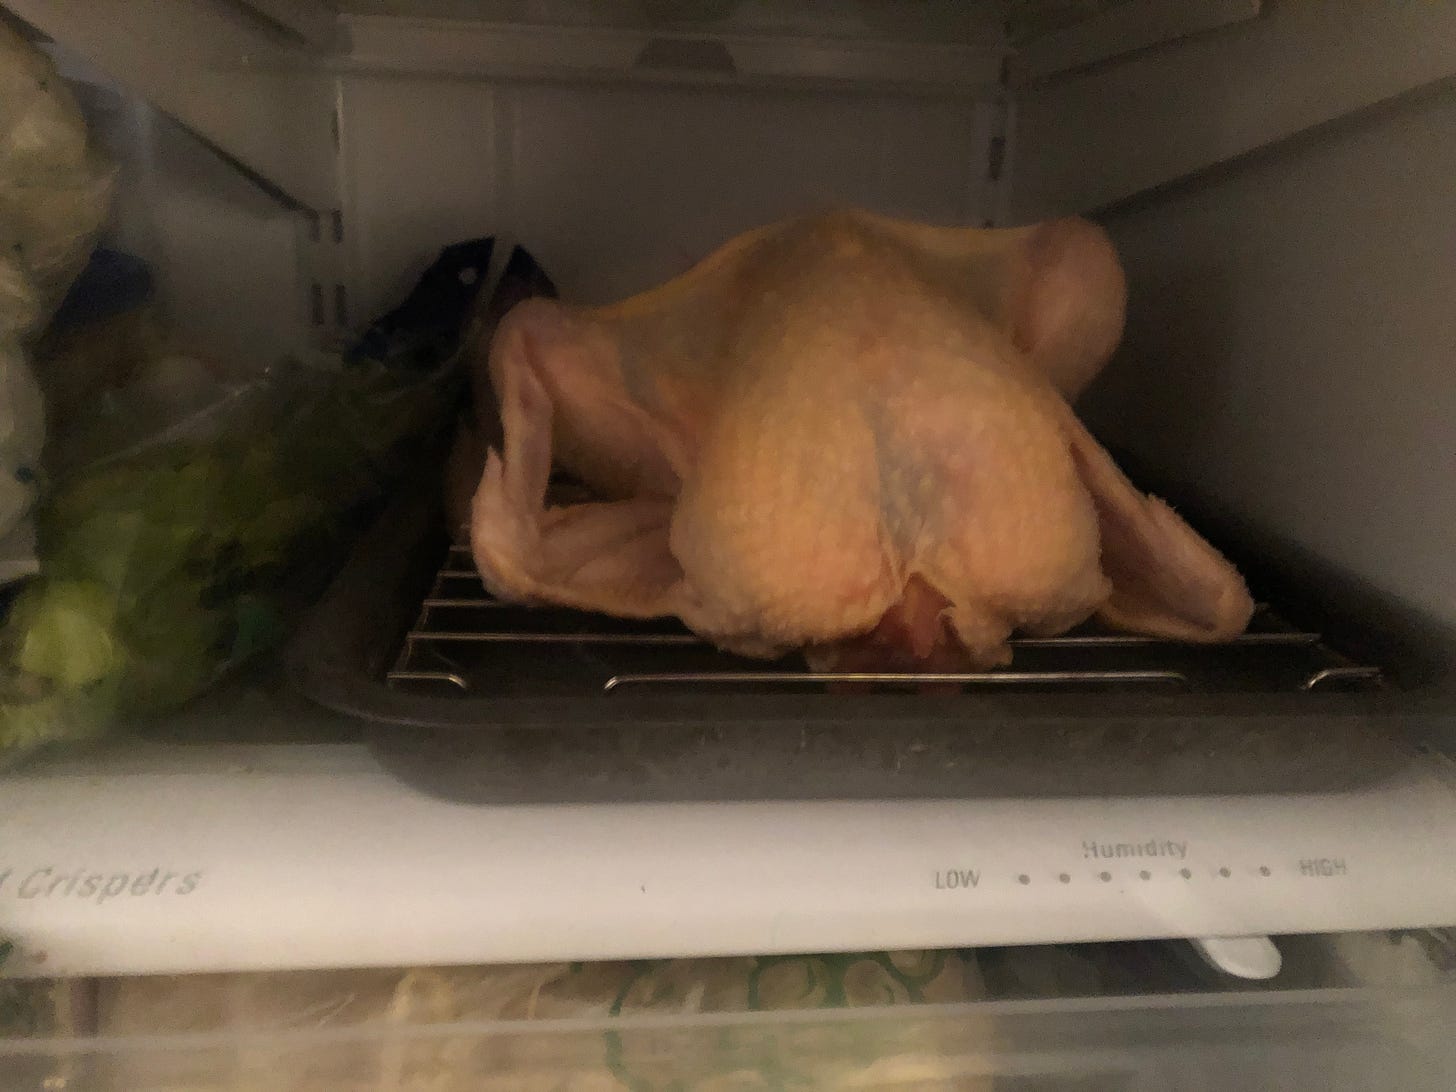
A day or two or three of sitting uncovered will leave the skin taut and almost papery even before it goes into the oven. If you bought an air-chilled chicken, you’ve already got a head start. Put it on a rack so air can circulate beneath and put the rack on a rimmed plate or baking sheet, maybe with a paper towel or two to catch drips. Put that on the lowest possible shelf so on the off chance drips escape, they get onto/spoil as little other stuff as possible. And make sure it’s not touching anything. You know, basic food safety admin.
5. Heat your pan.
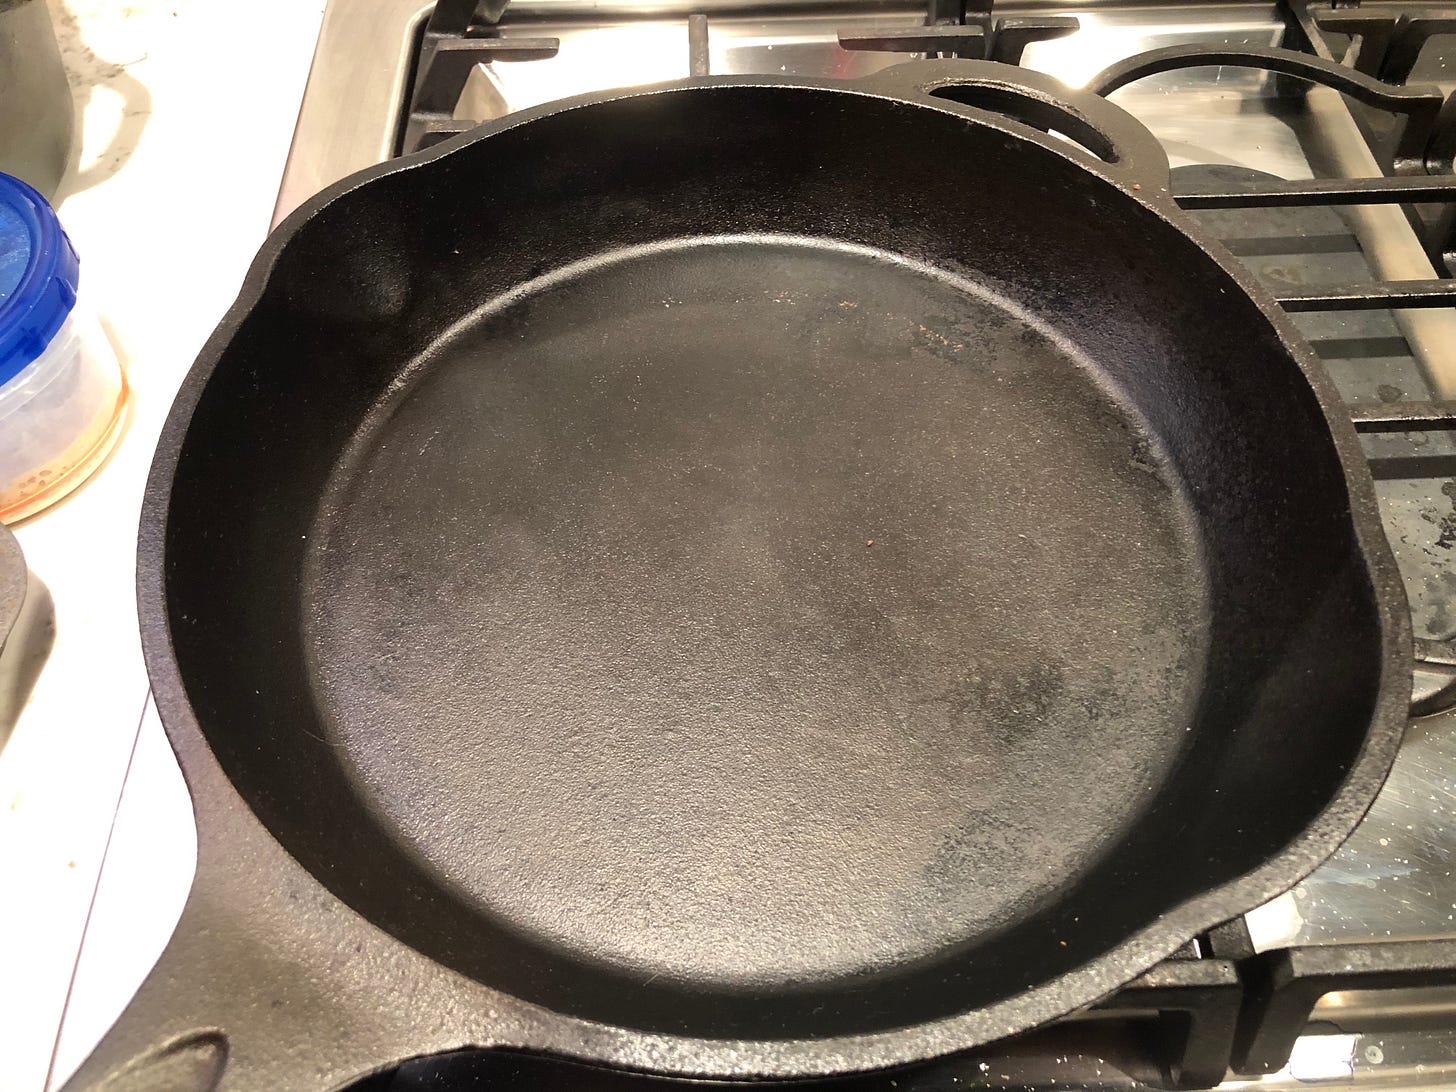
Once roasting day has arrived, put a heavy, ovenproof skillet—cast iron is ideal—in the oven and preheat to a high temperature. That could be around 450°F (you know your oven better than I do) if your oven can go that high. Some people (my sister) prefer to minimize any spattering by using a Dutch oven instead of a skillet. Admittedly, my method is hell on the inside of your oven, but if a clean oven is more important to you than an infinitesimal improvement in your chicken skin, then by all means…
6. Final bird prep.
While the oven and skillet preheat, take your bird out of the fridge. Pat it dry all over, including all the nooks and crannies and armpits, and lightly brush it with an oil with a high smoke point like grapeseed or canola, not olive oil. This will help the pepper and salt you’re about to sprinkle it with adhere. You’re probably thinking, “Wait, I already salted this generously three days ago. MORE salt?” But remember, all that salt is now squirreled away within the chicken. You need to make sure that skin is the perfect salty wrapping paper. So salt and pepper generously again and make sure it’s evenly applied. Tuck the wing tips under the bird.
7. Pop it in the oven.
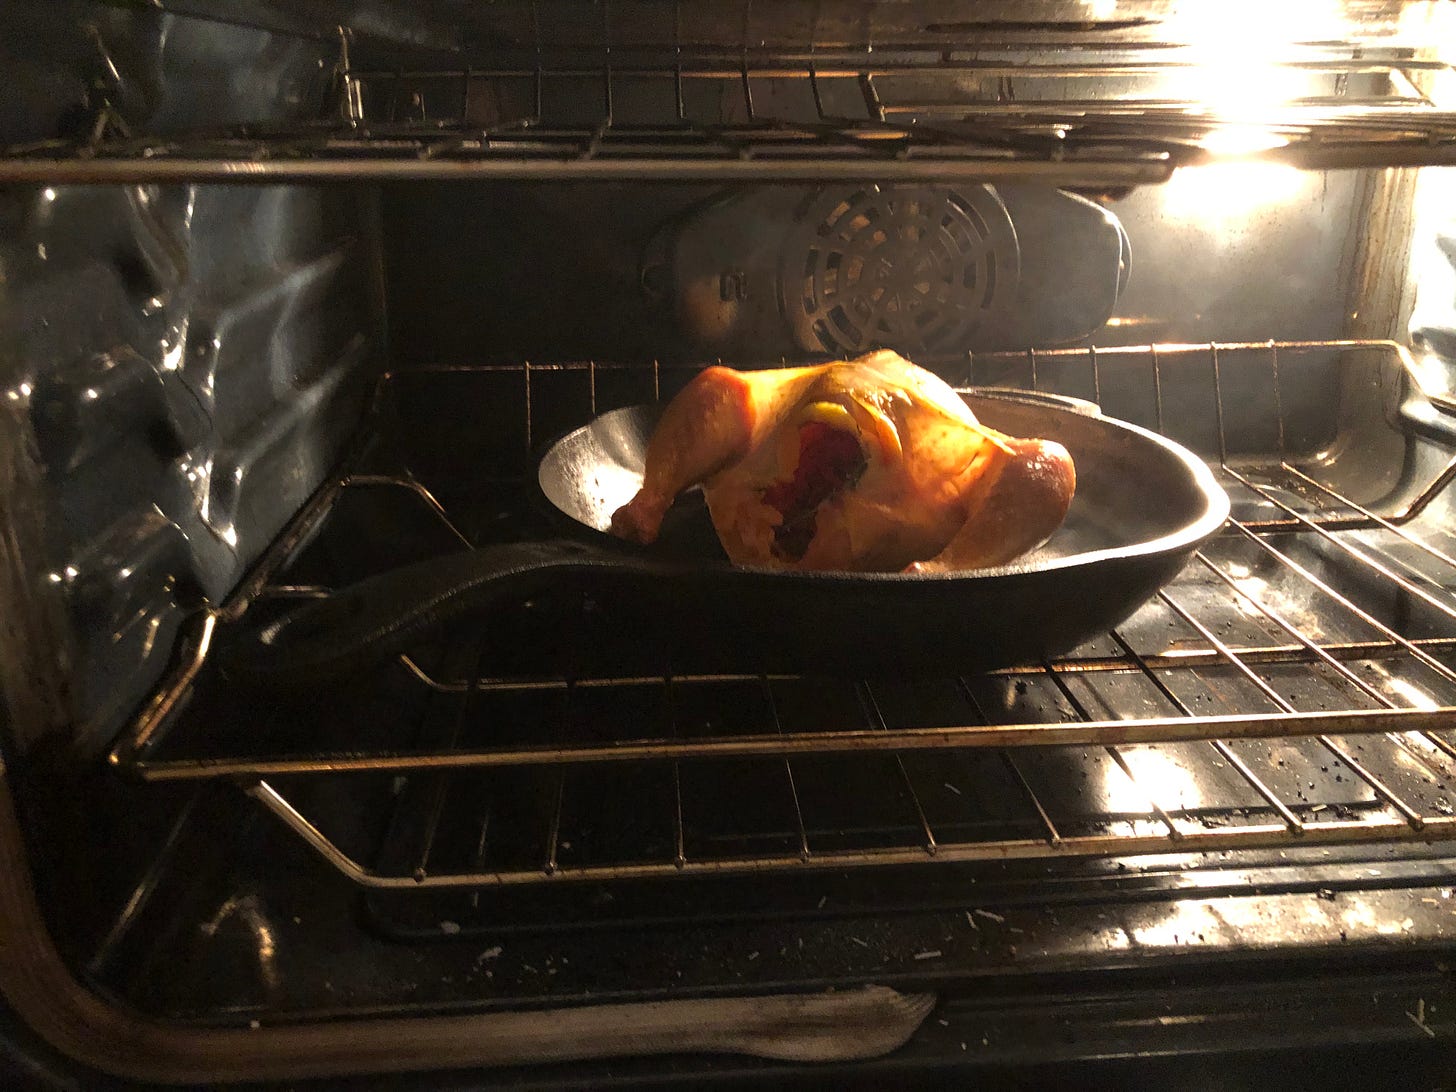
When the oven is at temperature, place the bird in the skillet breast-side up. It should start sizzling right away. If not, it should start within the first ten or fifteen minutes.
8. Keep an eye on things.
There will almost certainly be smoke, especially if you don’t clean your oven and racks between roasts. If there’s more than a little or you see skin burning, try lowering the oven 25° (or more if it persists). Also, if you can, invest in a really good range hood that vents outside and not a face-height microwave that does less than nothing.
9. Flip, flip.
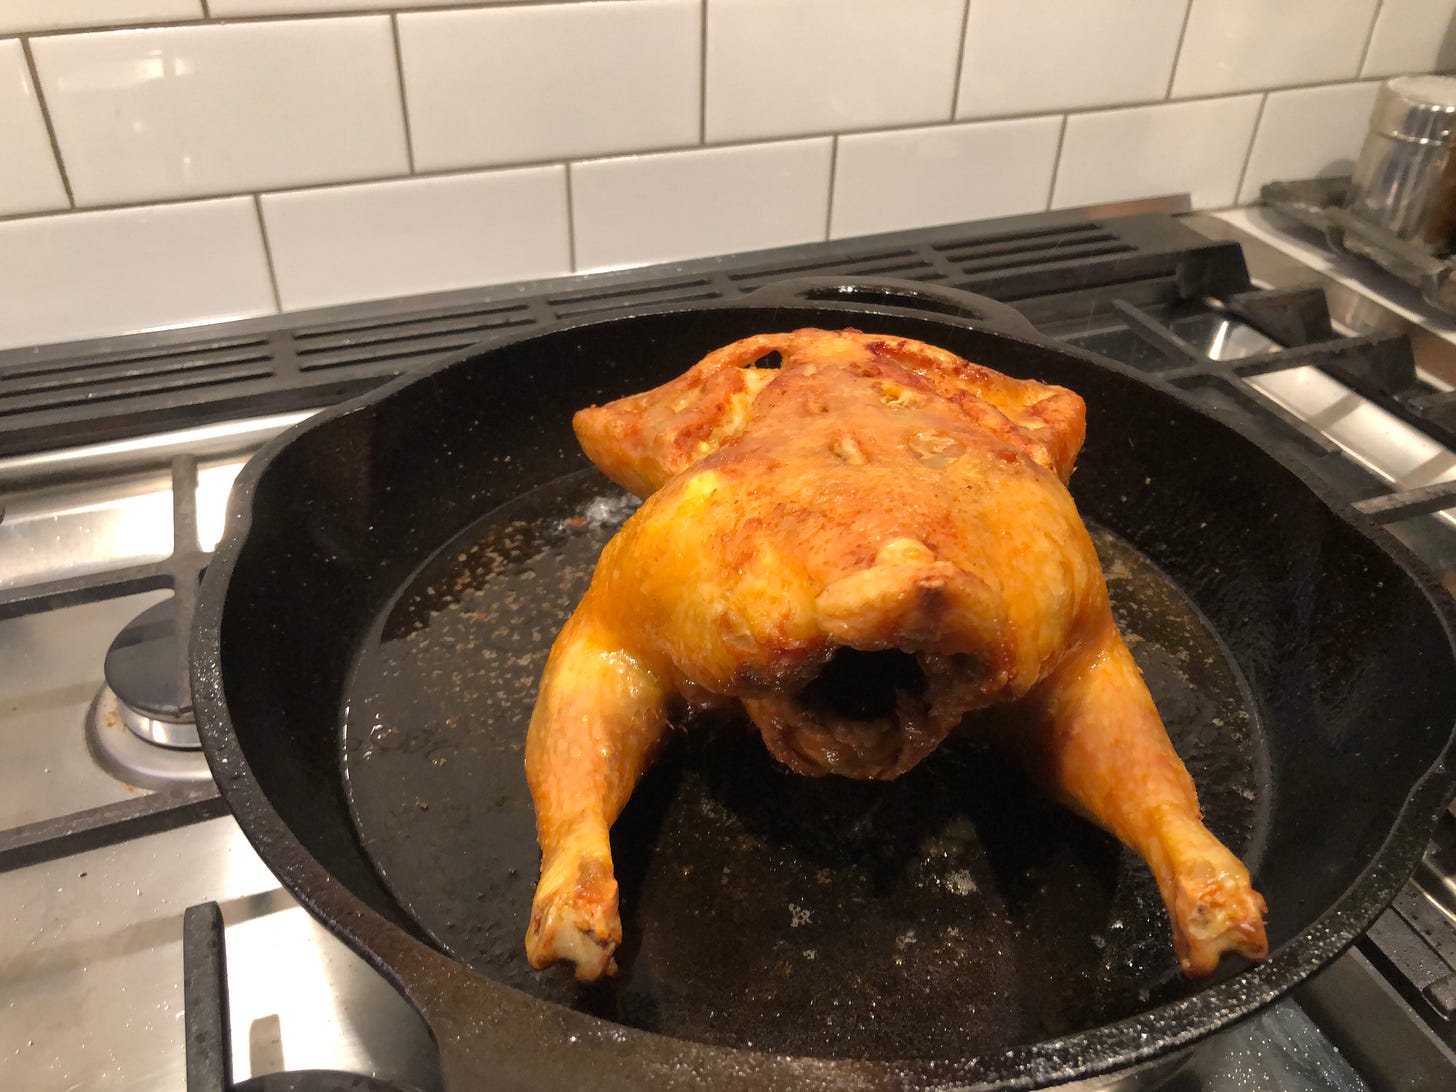
After 20 or 25 minutes, turn the bird over so it’s breast-side down.
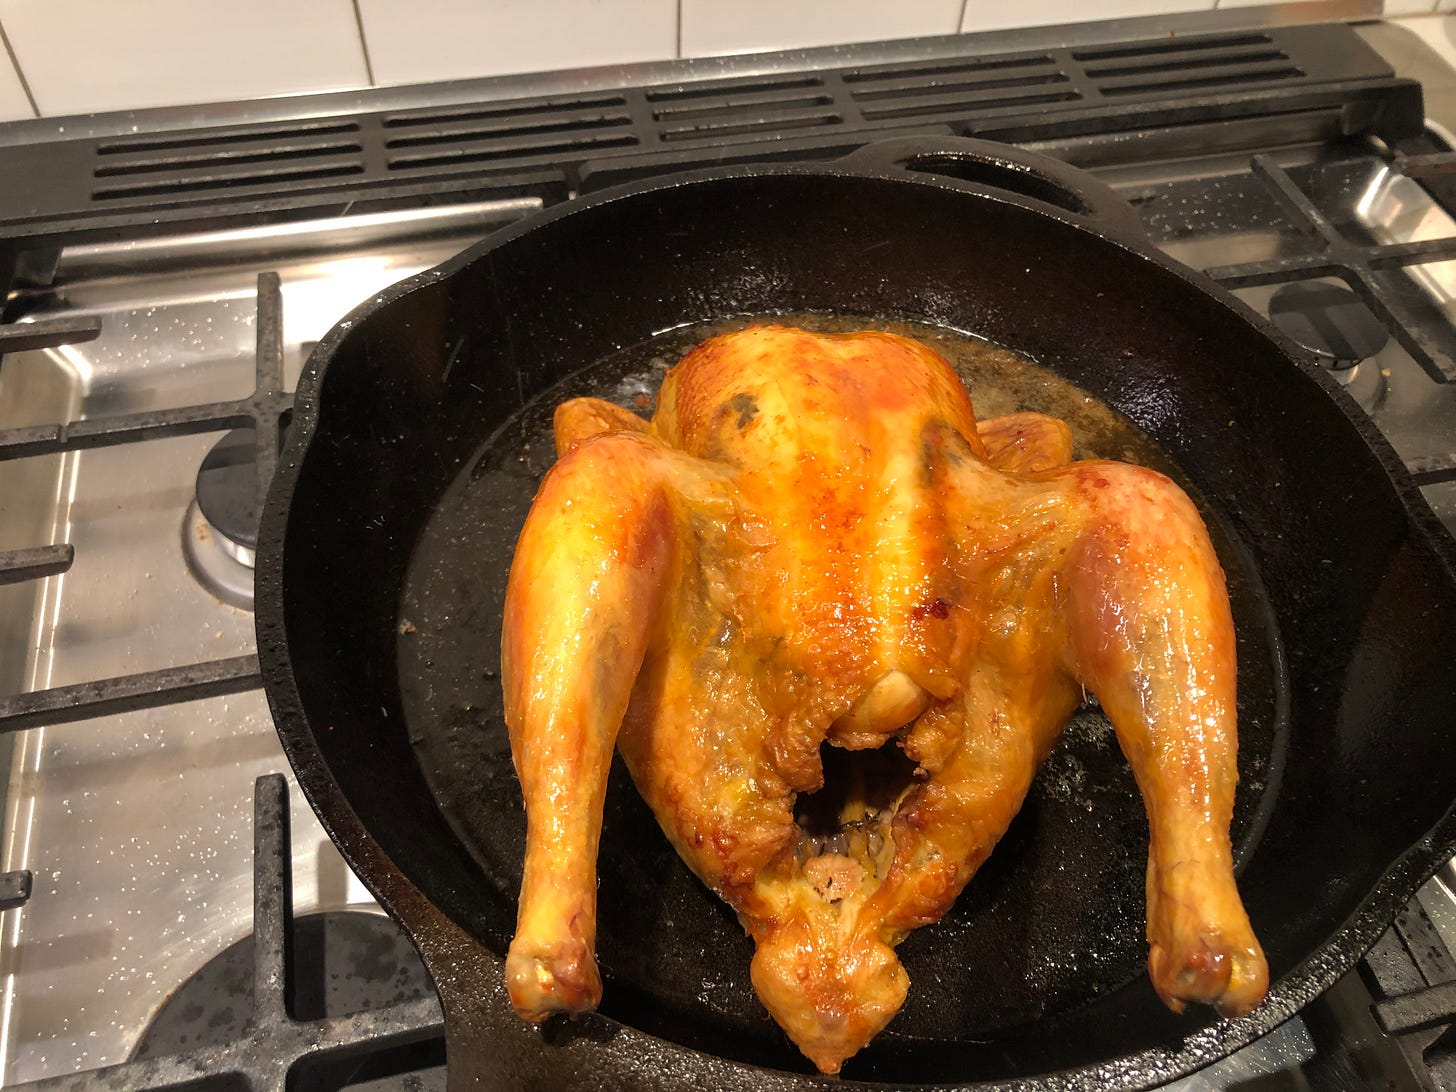
Let it go for 15 minutes and then flip it back for a final 10-15 minutes breast-side up. Check your temperatures.
I care much more about the dark meat, so I pull it from the oven when the thickest part of the thigh has passed 170°F. If the temperatures aren’t there yet, pop it back in for another 5 minutes or so.
10. Rest, carve.
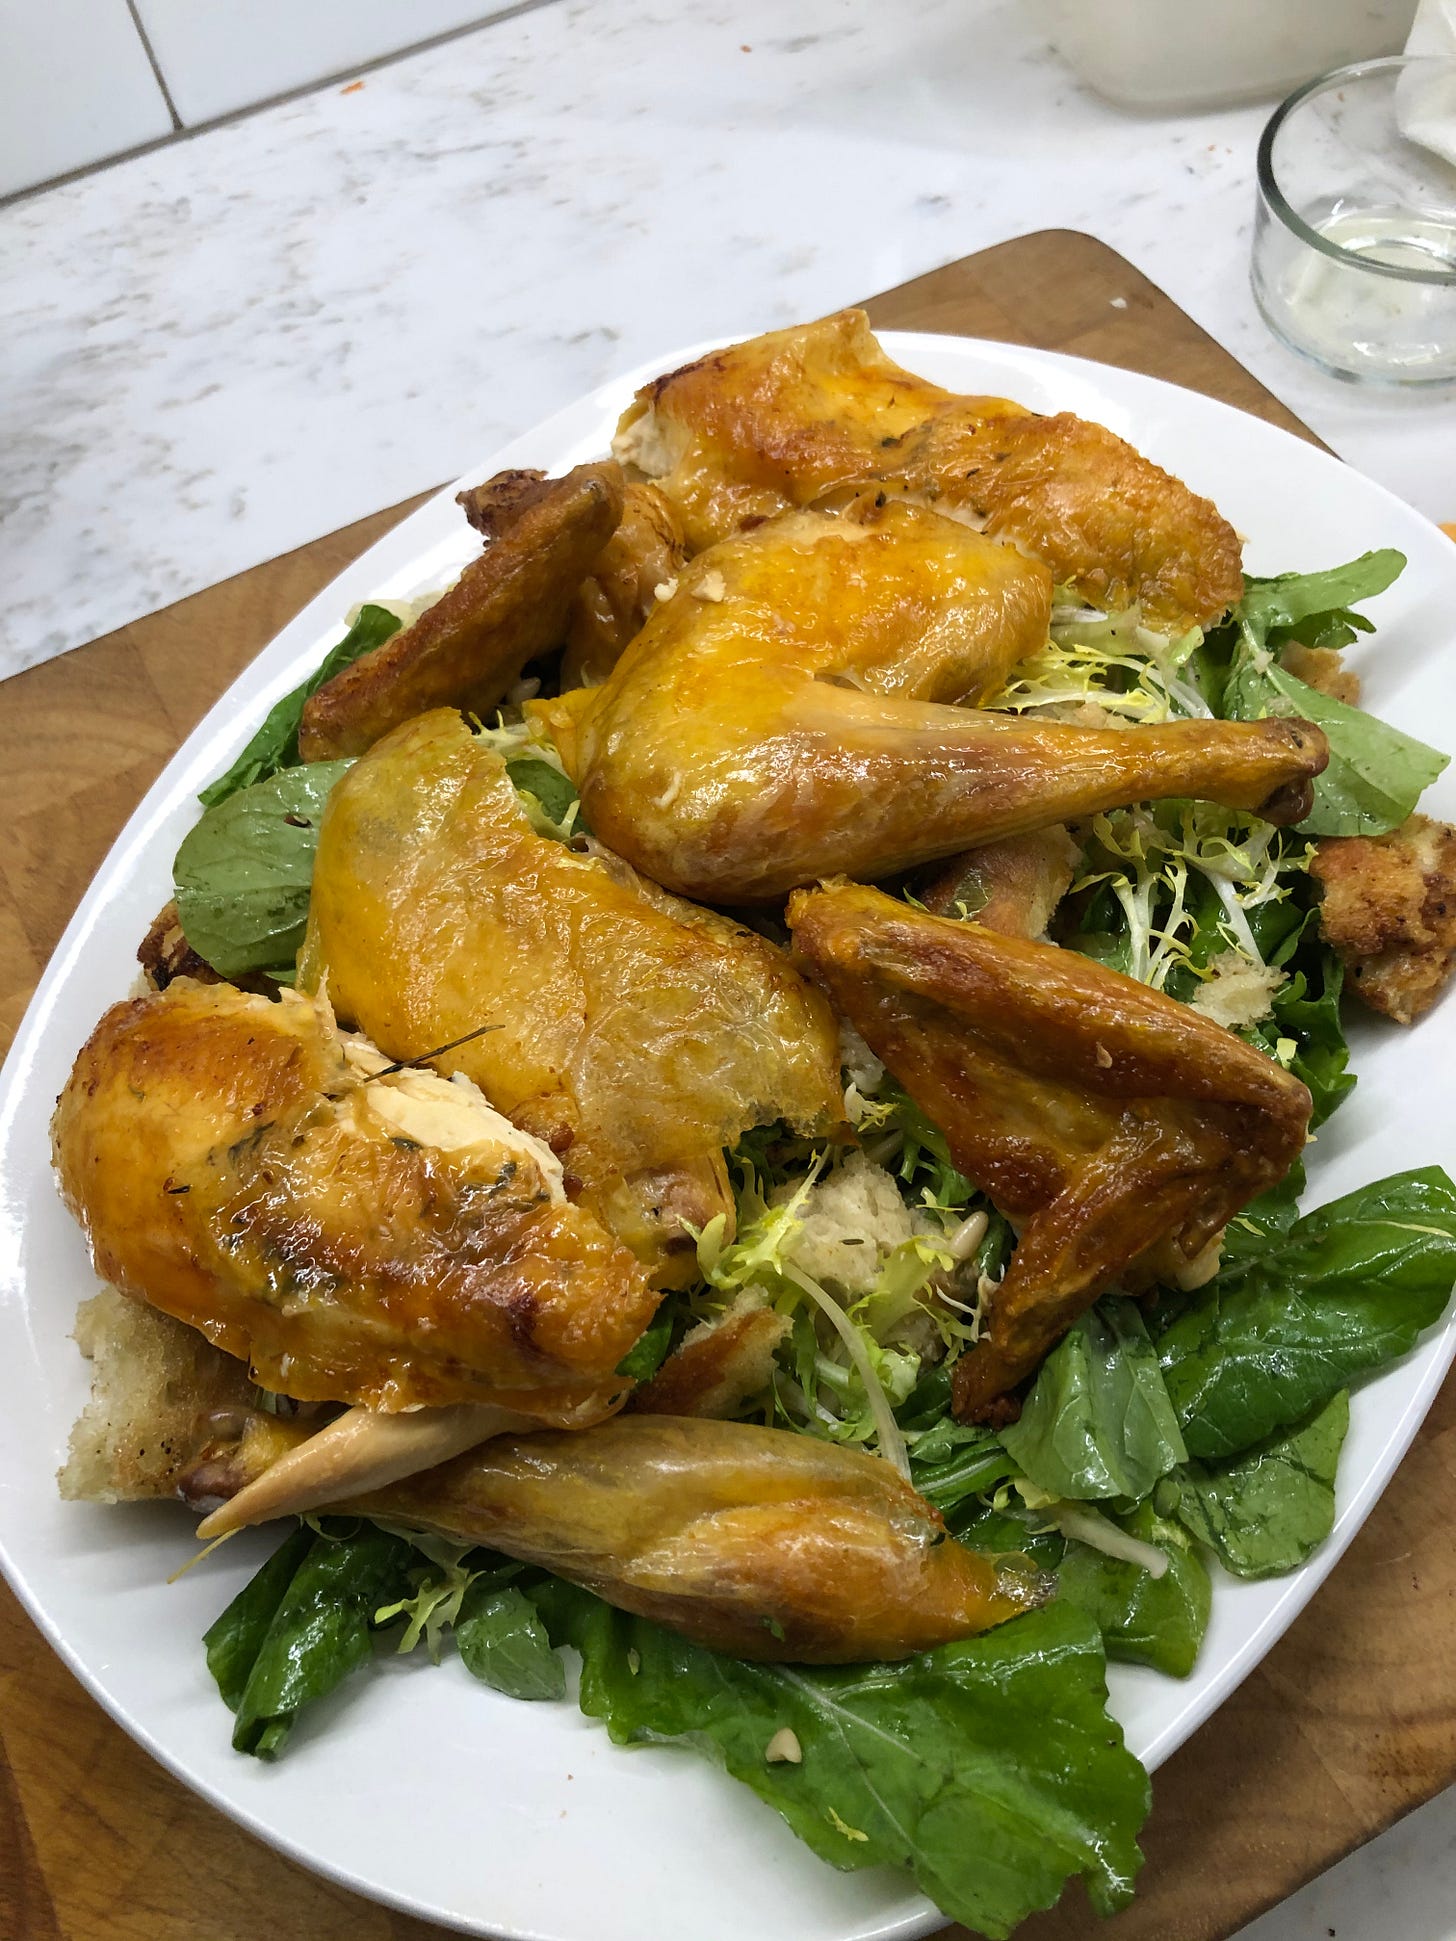
Remove the bird to a dish and let it rest for 10-15, uncovered. Tenting it with foil will trap moisture and uncrisp the skin you’ve worked so hard to crisp.
I prefer using a paring knife to carve. It helps that I also prefer cooking small birds. It takes away a bit of the ceremony of carving, but that’s easily made up for by how maneuverable a smaller knife is.
So there it is. Complicated in the sense that it has many steps, but none of the steps are anything particularly difficult to do. Pinch. Poke. Sprinkle. Flip. (I believe those steps are also in Rulhman’s recipe.)
(And if this all seems just too much for you, the one thing that will improve your current chicken, is salting in advance and leaving it uncovered in the fridge for a day, if you can manage it.)


