44. Not Just Another Pizza Post
How to make your own Pizza Romana
In the last issue I wrote about how I came to the realization that Pizza Romana, baked in rectangular sheet pans instead of as round pies directly on a stone or steel, is a much less stressful way to make pizza, particularly when entertaining. What I didn’t write about is how to actually make Pizza Romana. My pies are still nowhere near as great as the ones at Ciao Roma, but my latest results have me satisfied enough that I am ready to share what I’ve learned.
The Ingredients
Pizza Romana has a similar ingredient list to New York-style pizza: high-protein flour,1 water, salt, yeast, sugar, and olive oil. (Neapolitans will shudder at the thought of adding those last two.)
In the class I took, the chef replaced some of the flour with crokkia, a blend of “00” pizza flour, toasted wheat germ, and rice flour that adds crunch and flavour. As I mentioned last issue, I have been experimenting with making it myself instead of shelling out for a 12.5 kg bag. This involves toasting and grinding wheat germ and combining it with an equal amount of rice flour to create what I call my 50/50 crokkia base. I couldn’t find any information about the proportions of flour and 50/50 base that go into crokkia, but through experimenting I have found that three parts flour to one part 50/50 base works very well. Mixed together, this is what takes the place of some of the flour in the recipe. But this is just me being extra. Skipping crokkia altogether will still result in a crunchy and tasty pie.
The Method
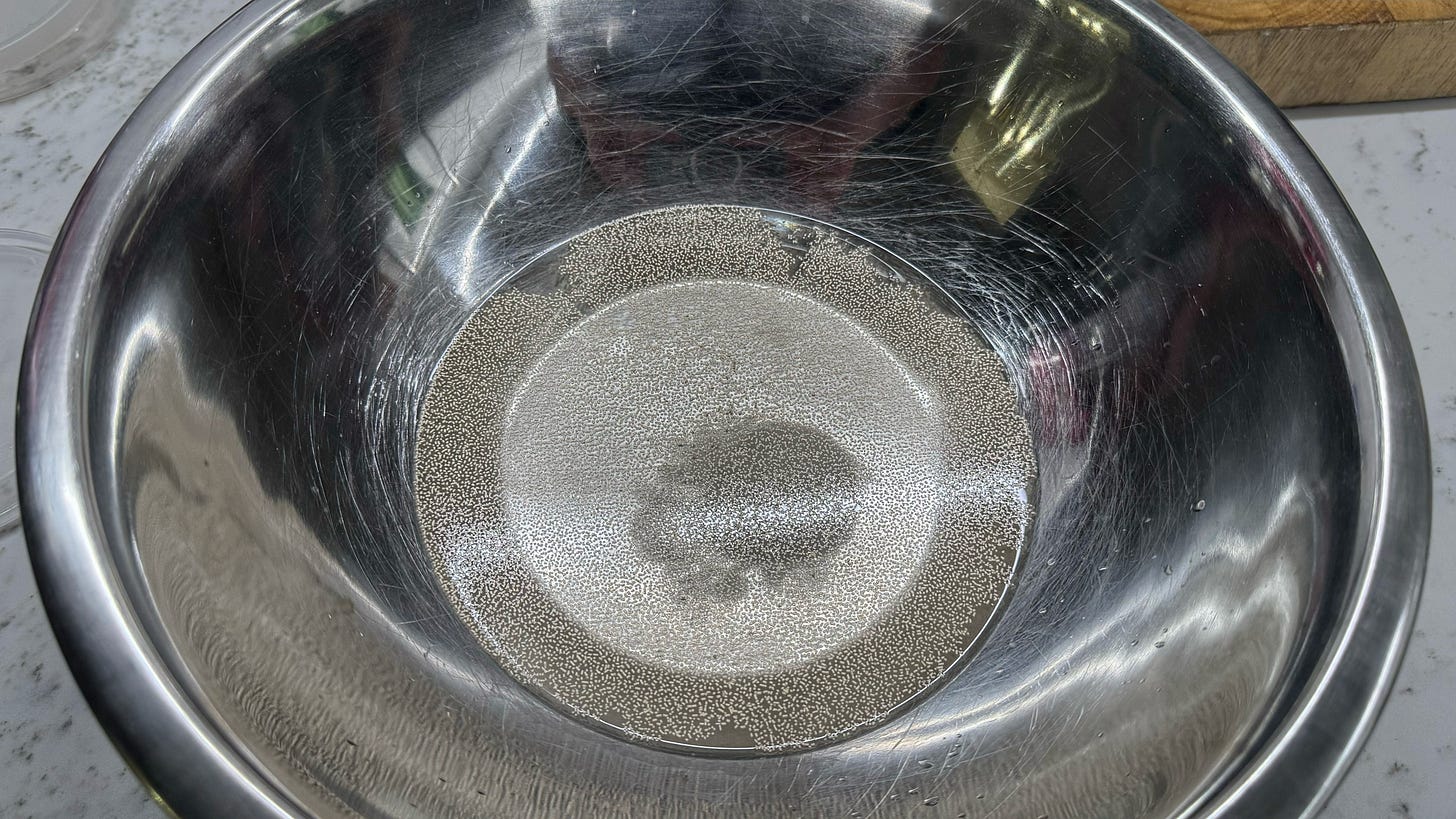
Most of the recipes I used when first making pizza began by combining all of the dry ingredients before mixing in the oil and water. But in the two pizza classes I’ve taken, (I wrote about the other one here) both taught by AVPN-certified Pizzaiolo Veraces, they have started by first dissolving the yeast and sugar (in the case of Romana) in the water.
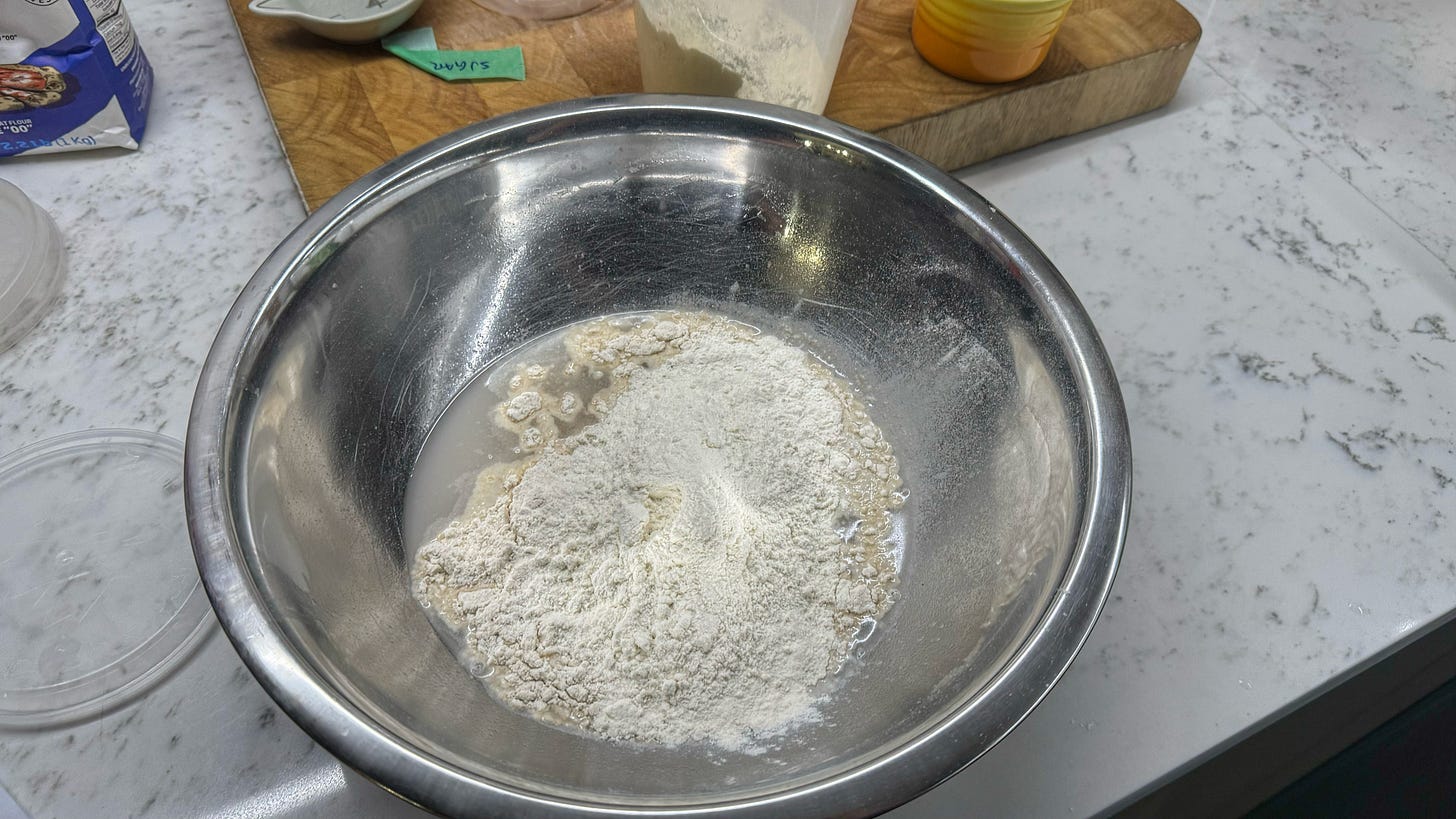
Once everything is dissolved, all of the crokkia and half of the flour are added and stirred until no lumps remain. I much prefer this order of business over adding water and oil to a bowl of the dry ingredients.
For one, it gives you better control over quantities. If you add too much flour, it’s easy to remove some. It’s much harder to remove too much water from a bowl of flour. For another, adding only a part of the flour and stirring seems to give that flour a head start on hydrating and developing gluten. I really like the way the doughs I have made using this order have turned out and will probably use it when I make other doughs as well.
Once the flour/crokkia/water mix is smooth, add about half of the remaining flour and mix until the flour has been absorbed, then repeat with the rest of the flour. By that point you’re kind of kneading the dough in the bowl. It should take about five minutes in total.
From there, turn the dough ball out onto a clean surface, add the salt and olive oil, and knead until both are completely absorbed. If done with some vigour, this should take a couple of minutes. Do not be afraid to be rough on your dough—it develops character, i.e., gluten. Once everything is absorbed, turn your bowl over to cover the dough and let it rest for five to fifteen minutes.
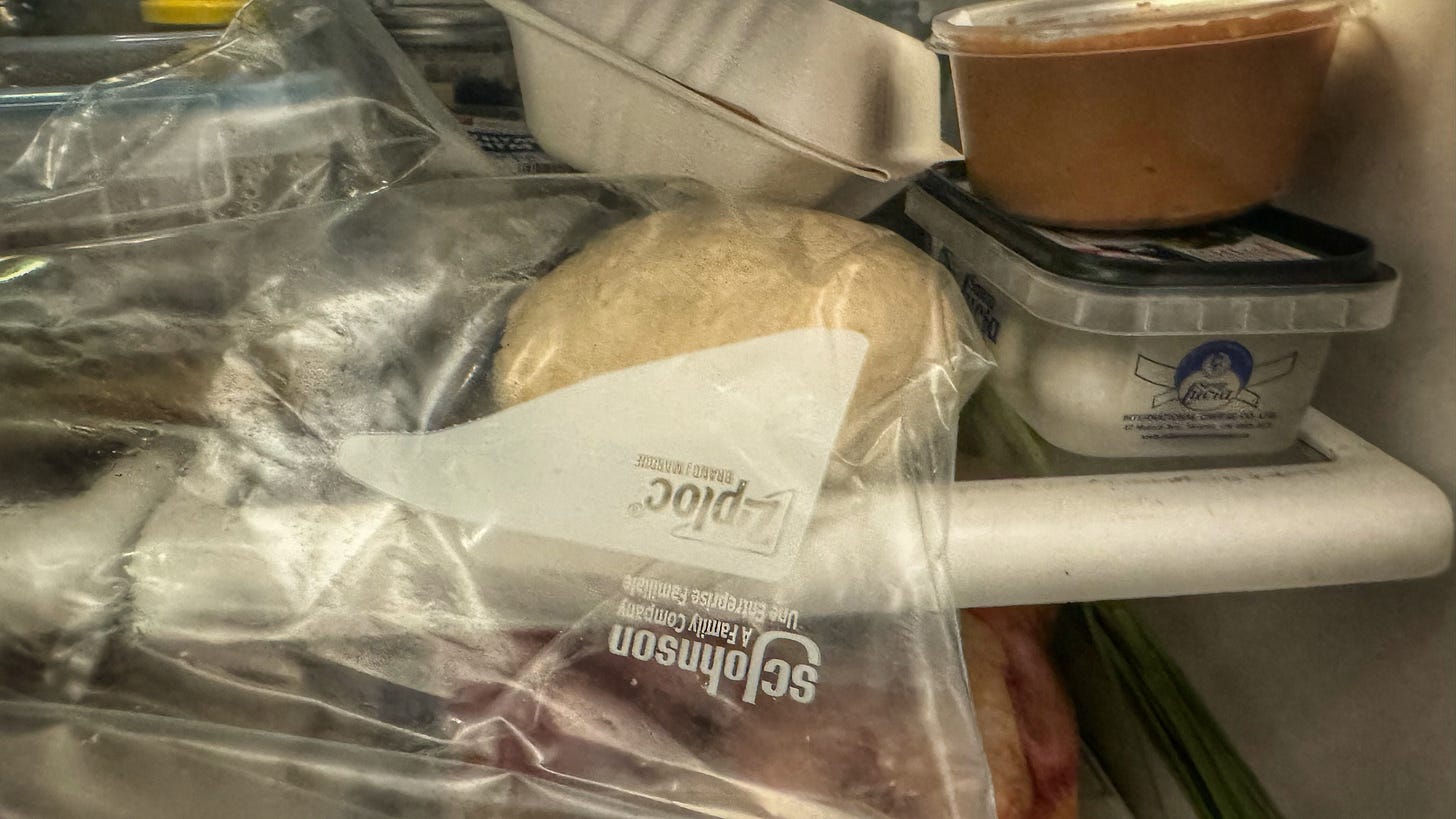
When the timer goes off, resume kneading until the dough is almost smooth.2 Ball it up, lightly oil the inside of a Ziploc bag, put the dough in the bag (leaving some room for it to expand), and put the bag in the fridge overnight.
You could use an oiled plastic container instead, but if your fridge is as chronically crowded as ours is, it’s easier find a place to fit a bag than a rigid container.
I read somewhere—I can’t remember if it was in reference to fermenting or baking—that you should regard temperature as an ingredient because adding more or less will change the way your food turns out. It’s a good mindset to have for what happens when the dough comes out of the fridge. If your house is a perfect 22°C/72°F, you can take the dough out about two hours before you want to start baking. Also, screw you and your adequately insulated house.
If, like the rest of us, your house, especially in winter, is colder, you will need to take the dough out earlier. It’s hard to know exactly how far in advance, but I would err on the side of earlier rather than later. The danger of taking it out too early is that it could overproof and not rise well, although the danger of that is less in a cold house. The danger of taking it out too late is that it will take too long to proof and you will eat much later, incurring the wrath of a hungry mob. That seems like the greater danger to me.
Whenever you decide the time is right to take your dough ball from the fridge, take your dough ball from the fridge. It will hopefully have grown in size and bubbliness since you saw it last.
Divide the dough into however many pies you’re planning on making and form them into taut balls. If you’ve made pizza before, you know how to do that. If you haven’t, this tutorial from the chef/owner at Pizzeria Libretto is a good starting point. (Just ignore the part about shaping.) The only hitch is that almost any instructions you find online about shaping a dough ball will be for a round pizza. If you can, try to shape your balls to be more oblong since that’s the shape of the pan they will be going into.
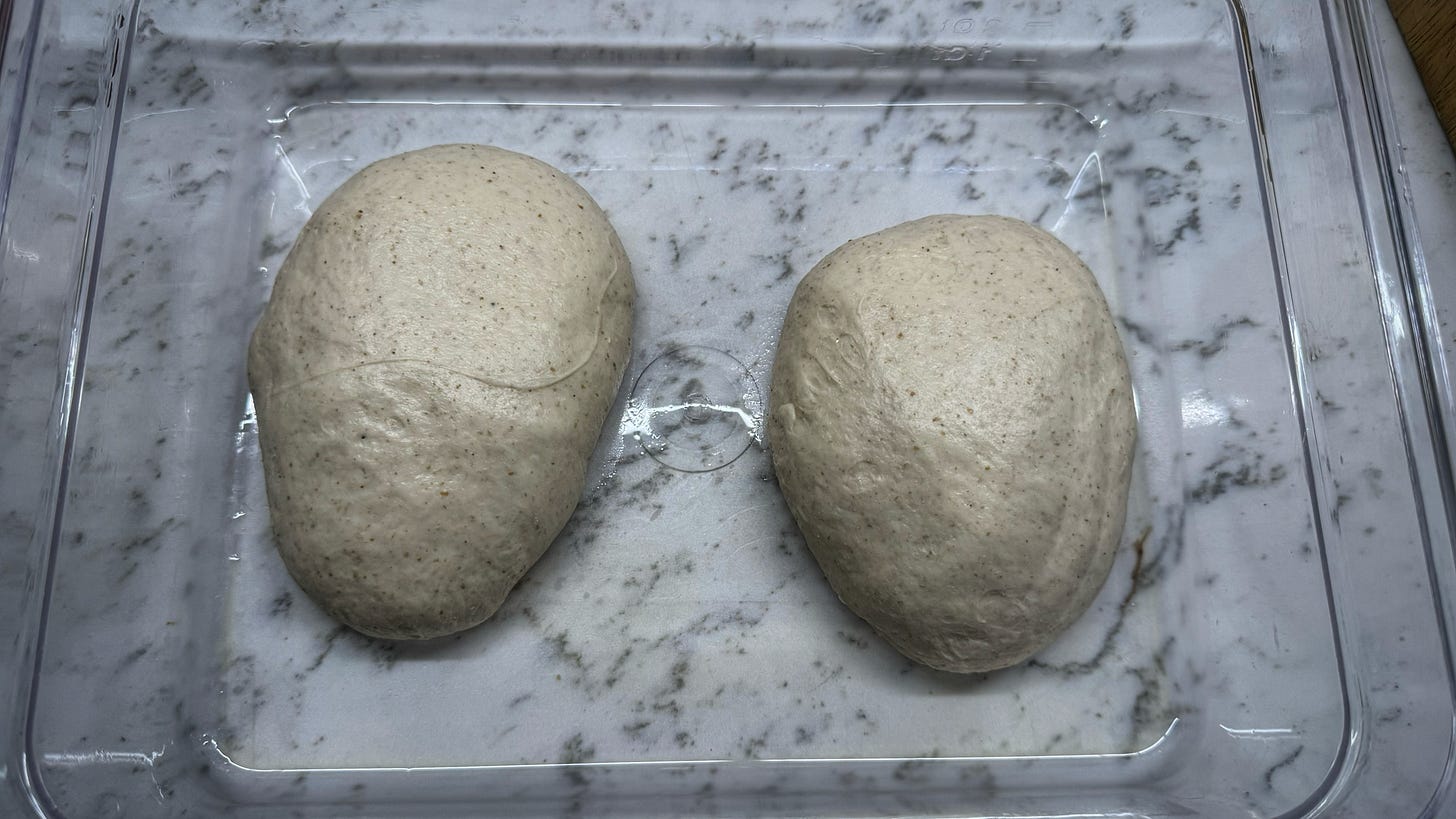
Put the dough balls into a covered, oiled container and leave them on the counter for their final proof. You’ll know they are ready when they have doubled in size (take a photo with your phone at the start for reference) and the dough slowly bounces back when poked with a well-floured finger.
Well before that time, about an hour or even more before you plan on baking, preheat your oven to as hot as it will go. In your oven there should be, in descending order of desirability: a baking steel, a baking stone, or an overturned sheet pan. Whichever you have, it should be the same size or larger than the pan you’re going to use to hold your pie. Also, give that pan (the one you’re going to cook in, not the one you’re going to cook on top of) a healthy coating of olive oil. Use your hands. Make sure every corner gets oiled and that you get oil all the way up the sides.
When your dough is ready for shaping, extract it from its container—for me this involves semolina flour and a putty knife to coax the dough out, although I have also seen people just turn the container over and let gravity do the job—and place it on a pile of semolina flour at least as big as the dough ball. Flip it to get semolina all over it to prevent sticking. Use your hands to cajole the dough into roughly the proportions of the pan you will be using.
With the tips of your fingers, flatten the perimeter of the dough. Then use your fingertips at a 45° angle to dimple the dough. Be gentle. There is probably a lot of gas in the dough that will make for a light, airy pizza if it is allowed to stay there.
Lifting with cupped fingers from underneath the edge of the dough, lift it up so it’s draped over your opposite forearm. As you gently slap the dough to knock off any excess semolina, it will start to stretch. Transfer the dough to your other forearm and slap the semolina off the other side, then place the dough into your already-oiled pan. It will probably be too small to reach the edges of the pan. Using cupped fingers from underneath the dough, gently stretch it to size. If it’s shrinking back when you try to do this, cover it with a kitchen towel and give it five minutes or so. That will give the gluten, which is evidently too springy at the moment, a chance to relax a bit and let you do what you need to do.
When you’ve finally managed to get the dough to cover the pan (totally OK if you have to cover it and let it relax a few times), add enough well-crushed tomatoes. I find a 14-oz/411g can and a generous amount of salt, run through an immersion blender until it’s not quite puréed but also not what could be described as “chunky”, is good for two quarter-sheet-pan pizzas. Then smear the tomato all the way to the edge of the pan with your hand and bake for seven minutes.
This parbaking will let you know just how poofy your pizzas will be. (Fingers crossed they’re nice and lofty!)
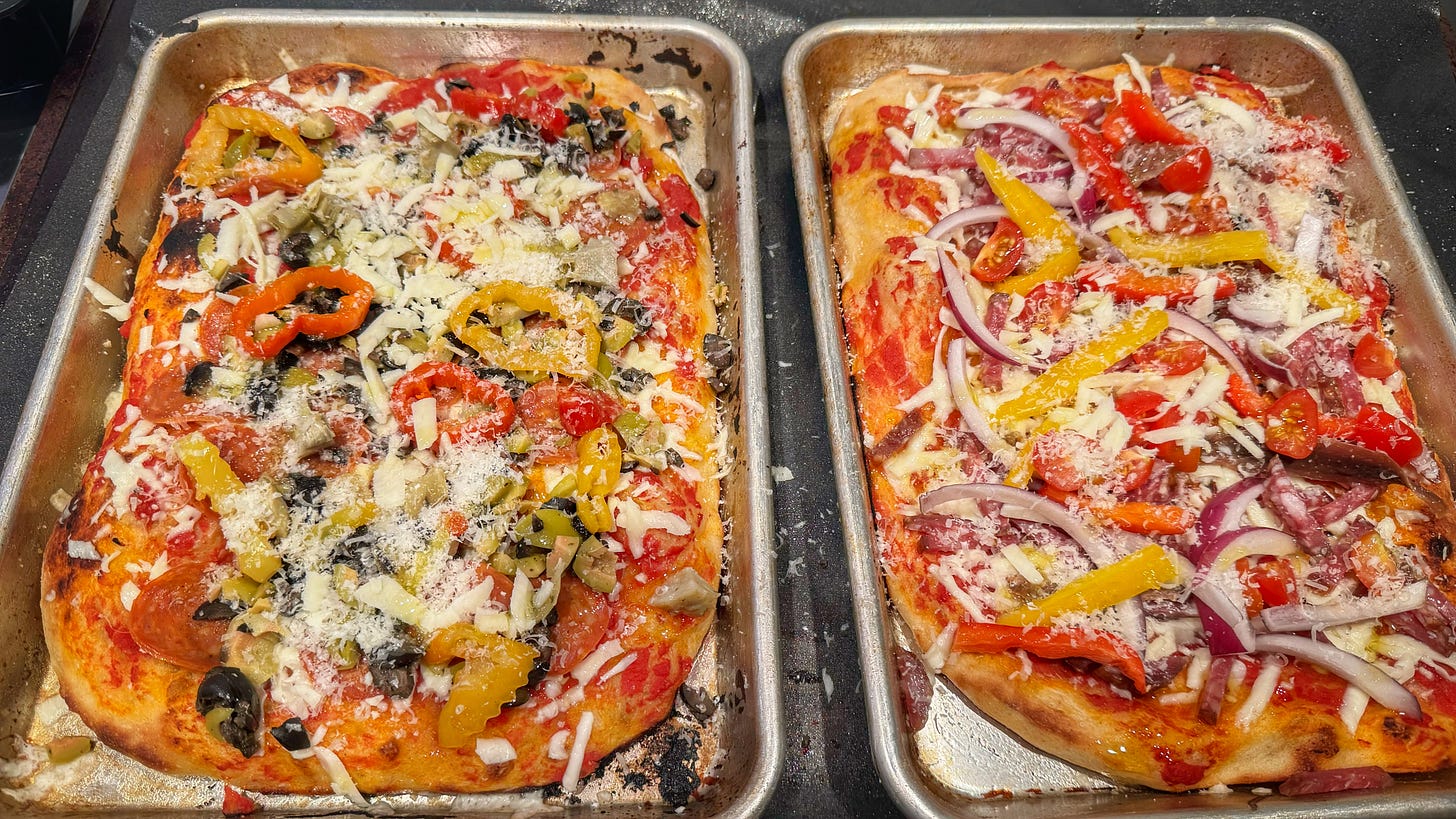
When the parbaking is finished, top your pies with the toppings of your choice. A current favourite of ours is mozzarella,3 pepperoni,4 an absolute ton of chopped black and green olives5, artichoke hearts, and Strub’s banana peppers.6 A healthy sprinkle of salt and olive oil will not hurt at all.
Put the pies back in for five-ish minutes and they should be (nearly) ready to eat. If the bottoms are nicely browned, they are ready to come out. If not, give them a few more.
The Results
Let them rest for a few minutes so everything isn’t molten and mouth-searing and then, in the Roman way, cut your piece with scissors78
The crunch was apparent the moment the scissors started scissing. I was really happy with the poofiness in some places, although I think I need to be a little more gentle overall in order to encourage overall poofiness. But I feel like I’m on the right track. And hopefully you are too.
(And if you are really serious about making your own Pizza Romana, I have built an ingredient calculator that will tell you how much you need of each thing, based on the size of your pans. I predict no one will click on it.9)
Italian Doppio Zero or “00” pizza flour is ideal, but you can get away with North American bread flour.
If you’re a more advanced bread baker, you can absolutely cover the dough again, wait, and then do a few series of stretch-and-folds to further develop the gluten.
I try to spend as little money as possible at any store owned by the Westons unless it’s on sale or clearly a loss leader. I am happy to help them lose money. Recently, the Shopper’s Drug Mart near us has repeatedly put Saputo’s Mozzarellissima, which is a great low-moisture mozzarella, on sale for half-price and our freezer is now full of it.
My current favourite is Venetian Meats Cup ‘n Char, although I also like the Pasture Butchery’s when I can get my hands on it.
Chopped olives don’t roll off round pizzas when they’re launched from the peel. Not relevant here, but it’s become my default olive format. It’s good to have a default olive format.
I don’t know why Strub’s banana peppers are so much better than any of the other readily available ones, but they are. Really big and really flavourful.
Prove me wrong!


