49. Butter Email
Flavour that's worth my hourly rate
There are some things that are so much cheaper to make at home than they are to buy from a store, while also being fairly easy. Bread crumbs and chicken stock come to mind first. As long as you’re just a little mindful of your kitchen inventory, their ingredients are basically free. I can almost never finish an entire loaf of bread in time, so making bread crumbs with the part I would otherwise toss when it goes moldy is pure something-out-of-nothing magic.1 Likewise for chicken bones and mirepoix scraps that I can freeze for stock later2 instead of tossing.
Butter is not one of them.
Even before the seemingly limitless inflation3 of the last few years, the economics of home butter-making were not on your side; a block of butter costs the same or less than the cream you would require to make it.4 Making butter is quite simple, but it can also be time-consuming. It’s not like tossing bones and scraps in the Instant Pot and straining the results 45 minutes later. There are steps, most of which require your active attention. But, I would argue, butter still worth making at home, at least some of the time, for the simple reason that the butter you make will be far superior to the butter you would buy,5 particularly if you take the extra time to make cultured butter.
If you have ever eaten French butter, you probably noticed how much better it is than most butter in North America. That’s because it’s cultured; cream is inoculated with active cultures, which cause it to ferment and convert some of the cream’s sugars into lactic acid. This creates a more buttery, tangy flavour when it’s churned.
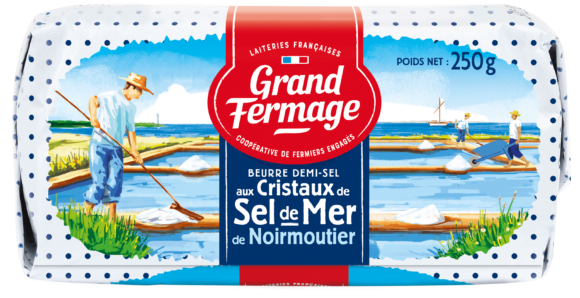
There are a few cultured butters available commercially. In Canada, Lactancia and Cow’s both make it. (Cow’s is better.) But by making it at home, you can control just how much tang you want, as well as adding other ingredients, like the flaky sea salt that makes Grand Fermage’s Noirmoutier sea salt butter so irresistible that, on its own, it’s practically a snack food.6
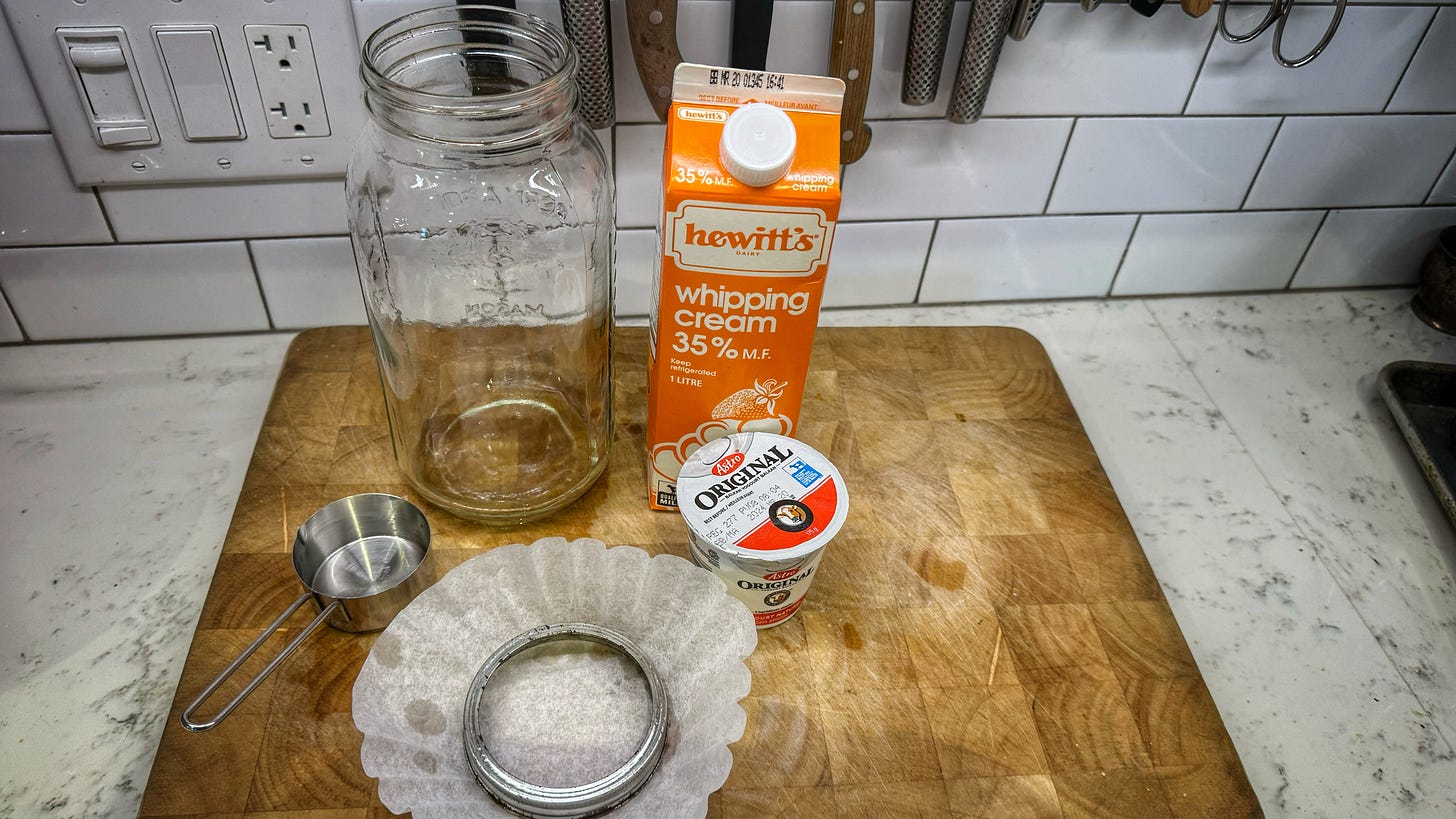
Making butter is time consuming, but it’s not hard. And making cultured butter requires just two more things of you: the ability to stir and the ability to wait. To culture cream, you require two things: cream and culture. For cream, it should be whipping cream that has not been ultra-pasteurized. For the culture, plain yogurt, creme fraiche, sour cream, or buttermilk will all work, provided they don’t have any stabilizers or gums. A single-serving pot of Astro plain is enough to inoculate a litre of whipping cream while leaving a few spoonfuls leftover as a snack.
Whichever form of cultured dairy you decide to add, make sure it’s the only culture you’re adding. Sterilize everything that is going to be touching your cream, including the spoons, bowls, and whatever utensils you may use to shuttle the cream and yogurt between them. I use a spray called Star-San to sanitize everything, but a trip through the dishwasher or even a very hot handwashing should be enough.
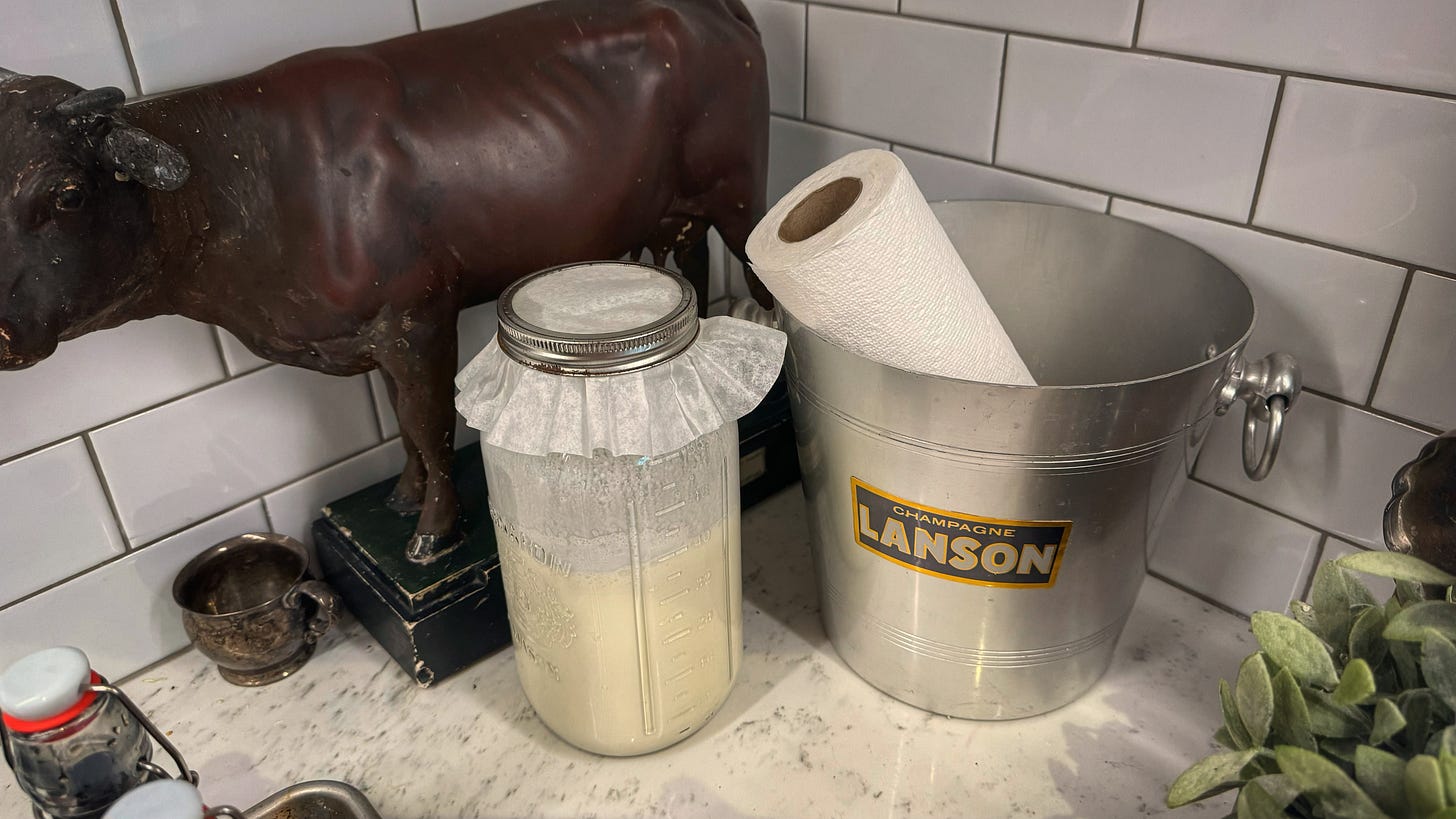
Add 1/3 cup of yogurt to your cream, stir to dissolve, and the cover it loosely. (This is just to keep debris out. You don’t want an airtight seal. I mix mine in a large mason jar and cover it with a coffee filter held tight by the jar’s screw band.) Then set it out at room temperature and let the culturing begin.
Let it go for at least 12 hours, although it’s even better if you can let it go 24 or 36 to let it grow thicker and tangier. I know, it seems absolutely against your innate good sense to leave dairy at room temperature, but trust me. (Don’t even trust me; trust France!) The bacteria needs room temperature to elevate your butter beyond almost any other butter you can buy. That said, the golden rule of any kind of fermentation is that if you think your ferment seems off in some way, err on the side of caution and toss it.7
Once you have achieved the thickness and tanginess that you desire, put the cream in the fridge until it gets down to around 16°C/60°F. You now have your choice of how to make your butter. If you have a butter churn, go for it. You could also use a whisk, a hand mixer, a stand mixer, or a food processor.
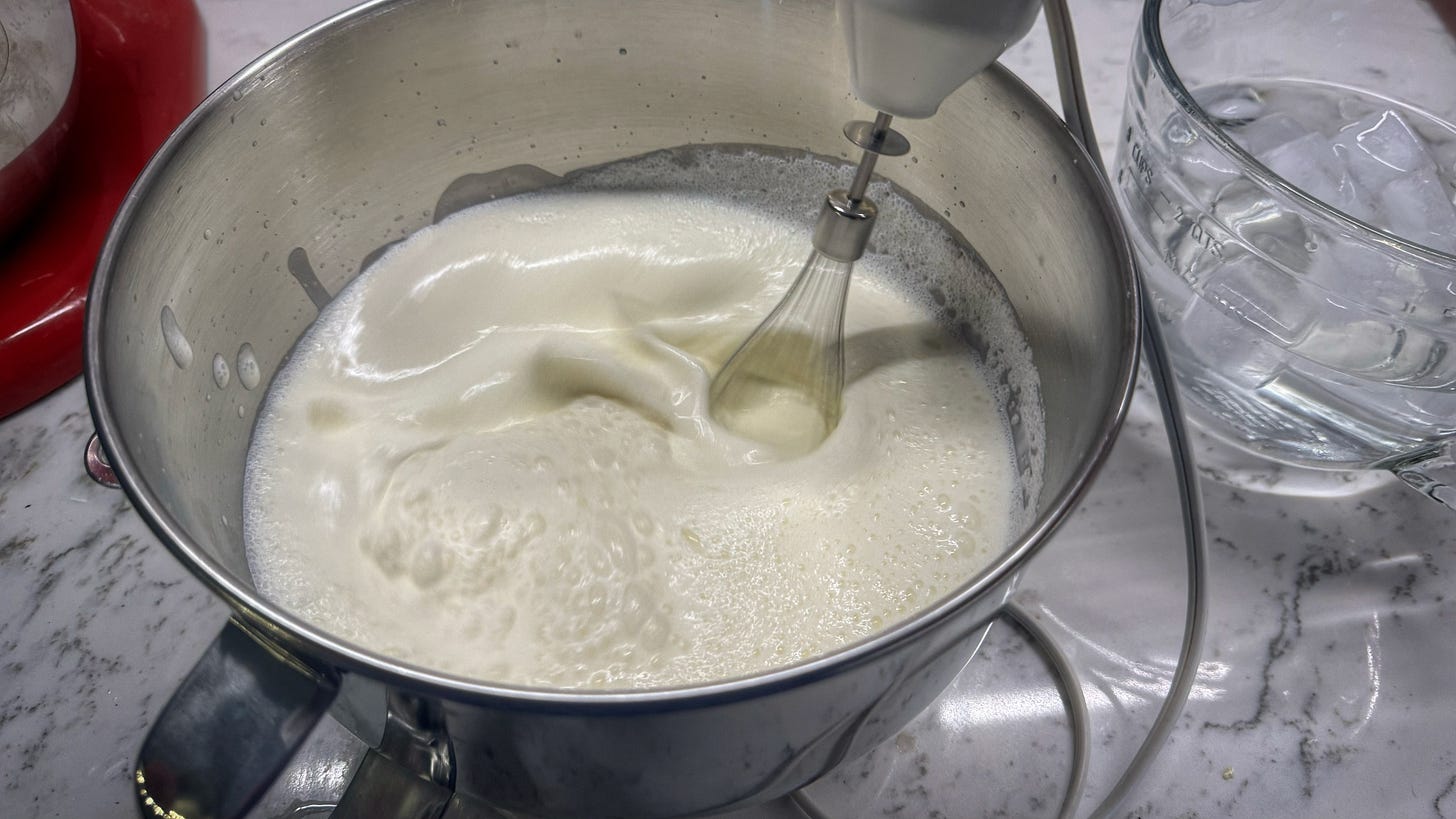
In the spirit of wanting to demonstrate that you don’t need to use a stand mixer to get good results, I opted instead to use the whisk attachment of an immersion blender. This was a mistake. The single beater took around 20 minutes to do the job, far more than a stand mixer or even a hand mixer with two beaters would have taken.
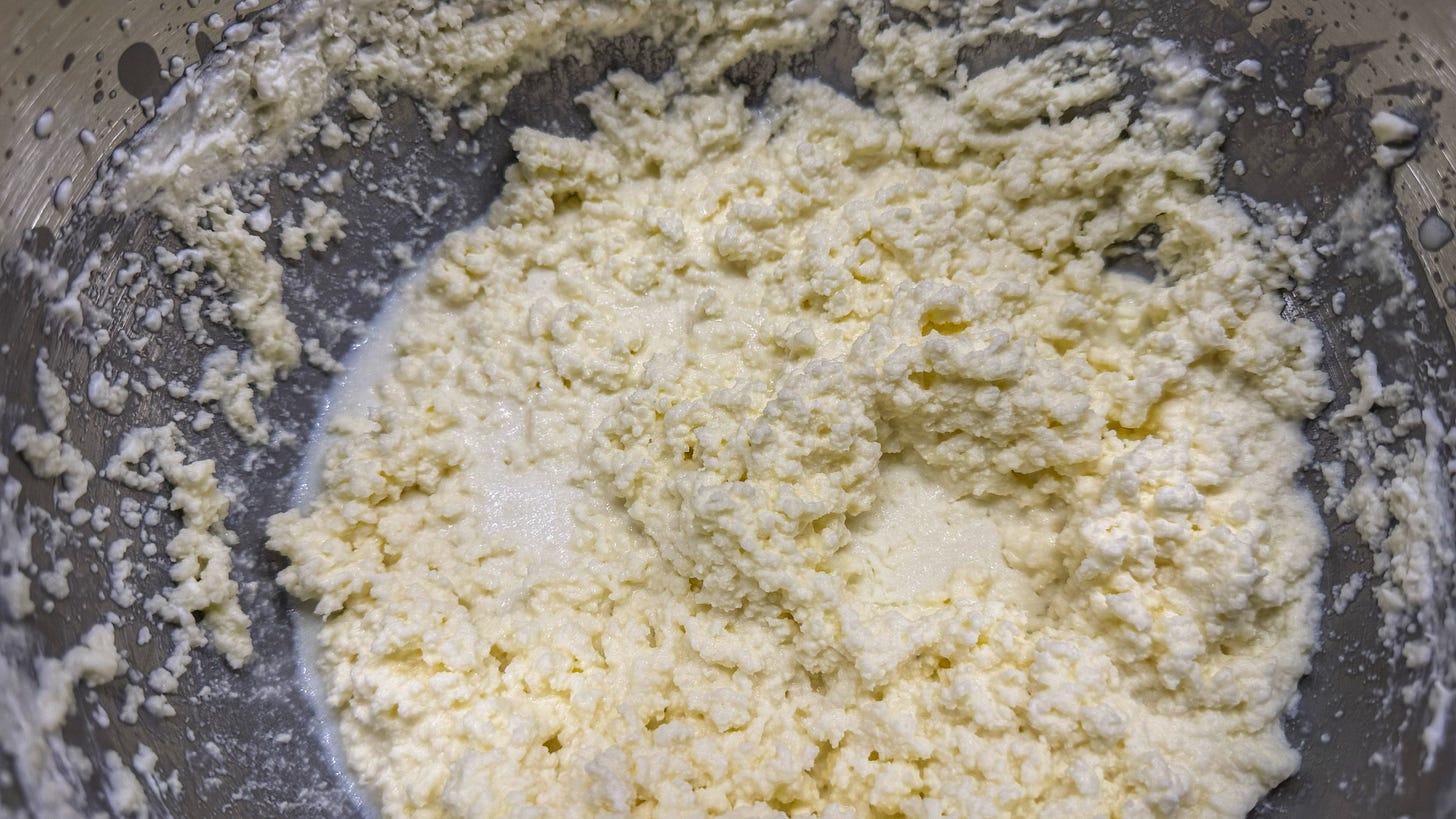
I whipped it on a fairly high speed until the cream held stiff peaks and then switched to a medium-low speed. As I continued beating the cream, it (eventually) started to look grainy (You don’t think you know what that looks like, but you absolutely will.) and shortly after that, the butterfat began separating out of the liquid.
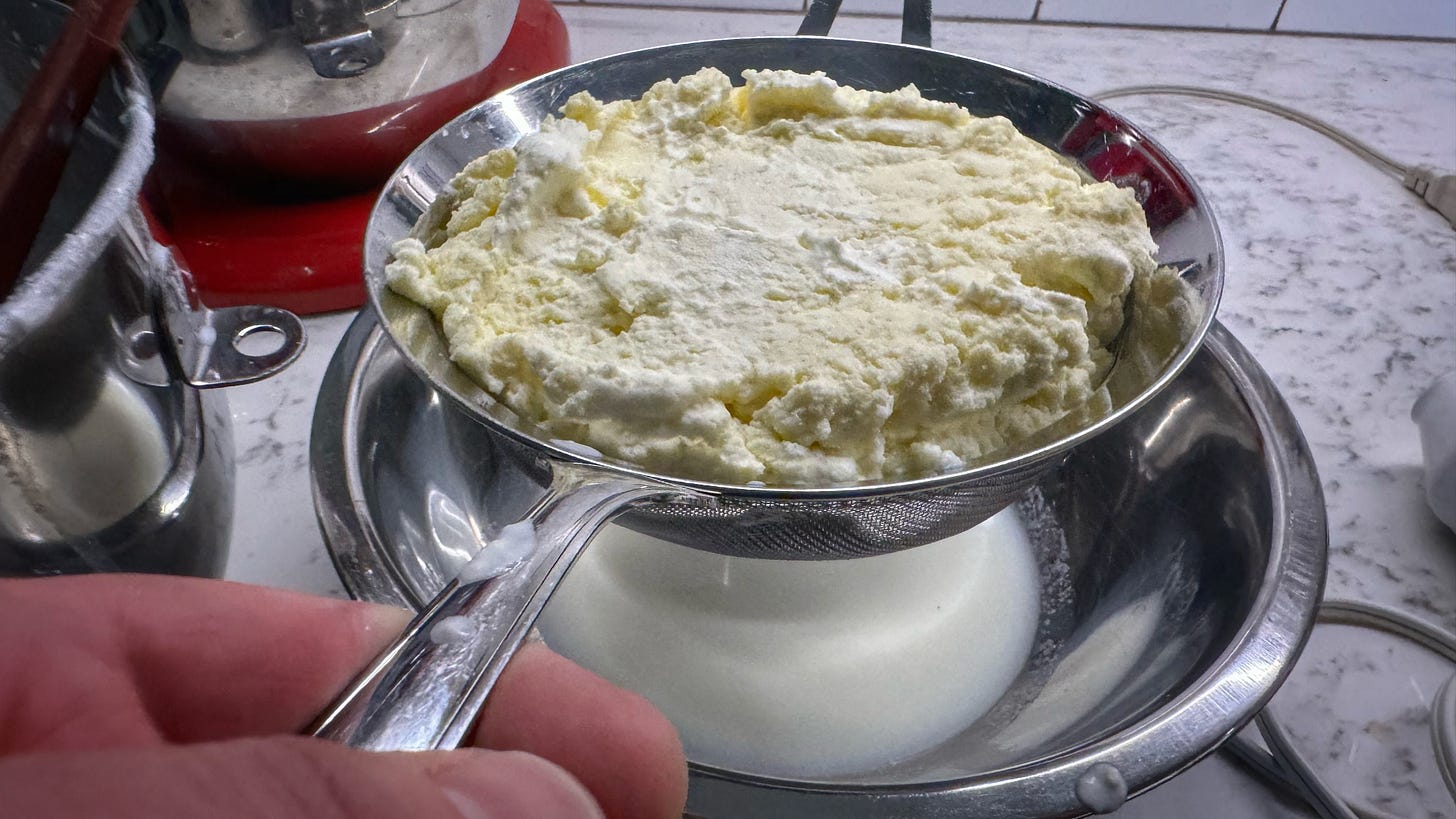
Most recipes I’ve read say to pour off the liquid, but I found it easier to pour the entire contents of the bowl into a fine-meshed sieve and press on the butter to express as much of the liquid as possible. Be sure to put your sieve over a container, though, because the milky liquid that has just separated from your butter is… buttermilk. The real stuff and not the supermarket liquid that’s made by adding cultures to pasteurized milk. And it’s free! My litre of cream gave me around 400 ml of buttermilk to use in coleslaw the next day with enough left over for buttermilk biscuits.8
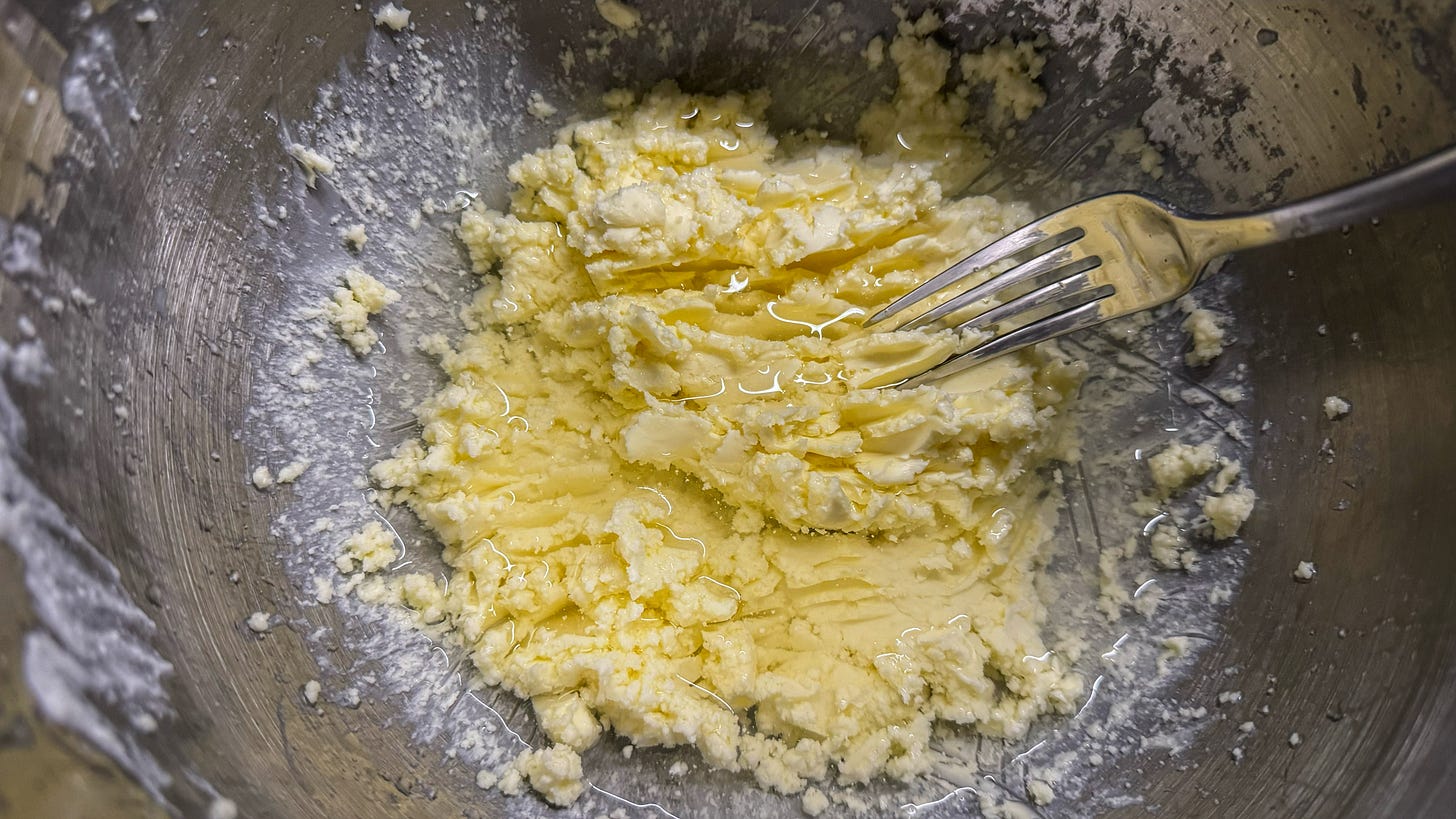
Any buttermilk that’s left in the butter will cause it to spoil more quickly, so it needs to be rinsed away. I returned the butter to the mixing bowl and added a half cup of ice cold water. Using a fork, I mashed the butter against the wall of the bowl to force water through it. It very quickly became cloudy with residual buttermilk. I poured it off, this time into a container headed for the drain, and added freshly icy water and repeated. Eventually the water stopped turning cloudy and, after pouring it off and then mashing for another minute to get out every possible drop of water, I was finished.
The only thing left to do was add salt. I opted for a generous amount of Maldon.
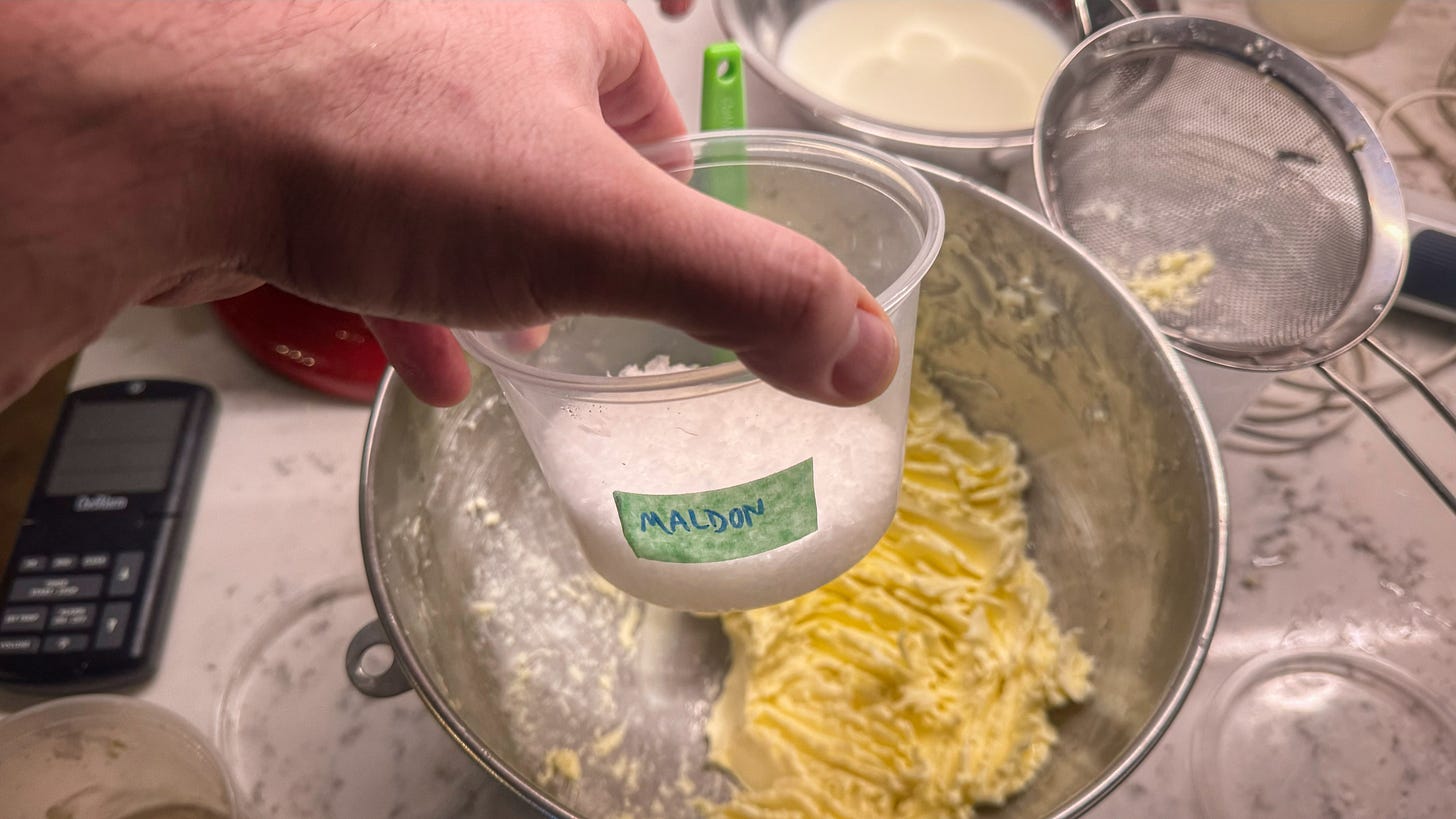
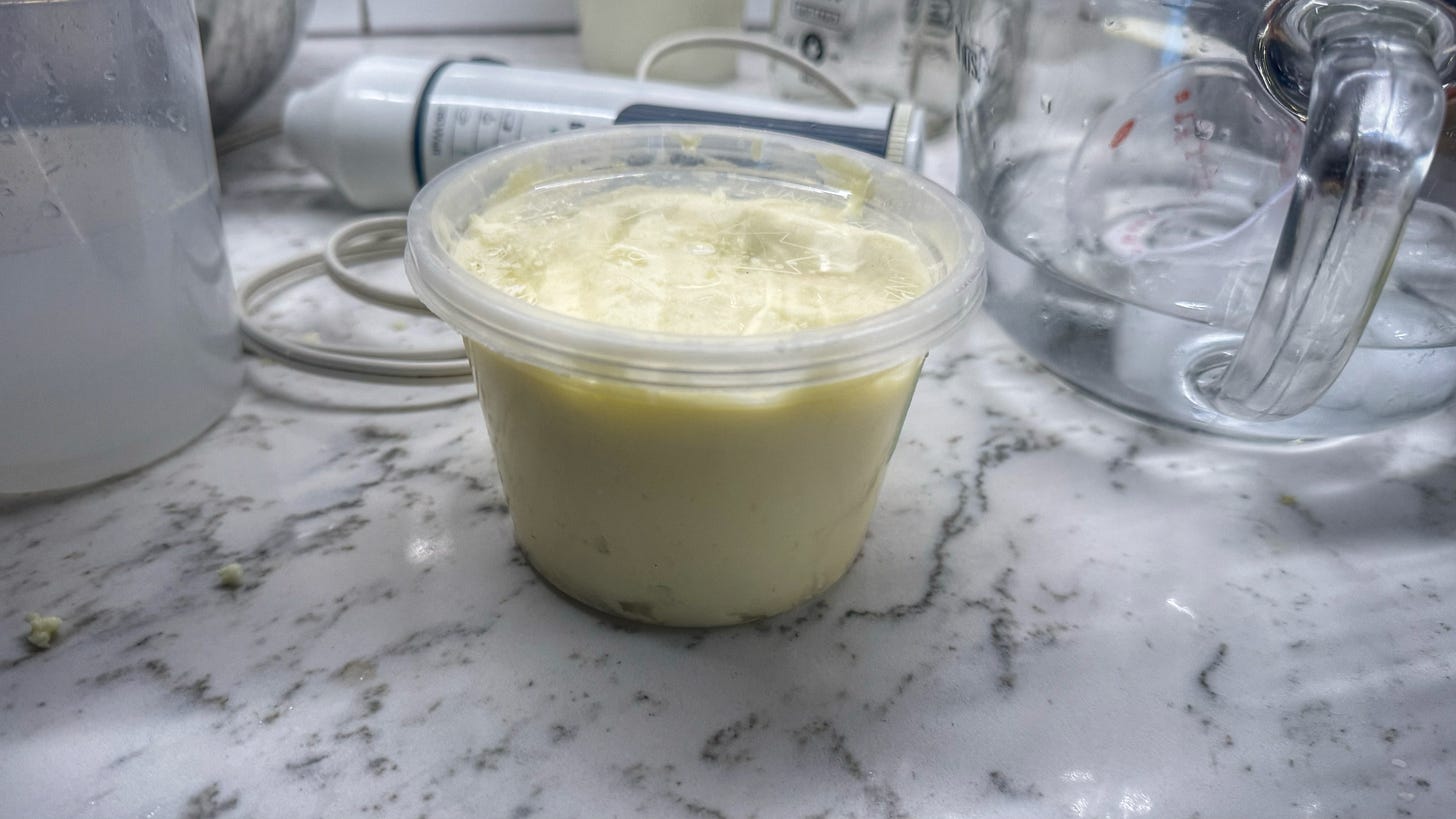
A smarter person would have planned to have some bread baking while all of this was happening. I am not that person. I didn’t even think to have something that required butter planned for dinner. (We were having pizza.) So I had to content myself with eating small nibbles to test its tangly, salty goodness. It may not be worth the money, but it’s definitely worth the effort.
What I’m consuming…
I am sorry Neapolitan Pizza, I am leaving you for this... You may recall that at the end of last year I went on a quest to make great Pizza Romana (or pizza al taglio as it’s also known). I’m still on it and continue to be happy with the pies I’m making. I’m also working on a version that replaces traditional kneading with kneading with a mixer and dough stretching, which will make it easier for people with less hand strength to get great results.
You may also recall I’ve mentioned Alex, a French YouTuber, before. His schtick (which, to be clear, I absolutely enjoy) is relentlessly pursuing the techniques needed to produce the “best” version of a variety of dishes like fried rice, omelettes, and Neapolitan pizza. In his latest video, he gives many of the same reasons why he’s so interested in pizza al taglio as I have. (It’s less fussy. It can be made in a standard home oven. It’s easier to make for a crowd.)
Hopefully this is the start of a new series in which he finds out things that will help my own pizza practice.
What’s on the menu…
Vij’s and Vij’s at Home. I came home from a recent thrifting trip with copies of these books, written by the then-married couple that ran Vancouver’s legendary Indian restaurant Vij’s and, at the time of writing, its sister restaurant Rangoli.9 Everything in both books looks fantastic and I don’t know where I’ll start. Possibly with the chickpea and cucumber curry. Or maybe the paneer, green beans, and eggplant in tamarind curry. I can’t wait.
Both books were inscribed by the authors to “John.” The hunt for “Hi Ho” continues, so I do not have the time or energy to figure out who “John” is. I also picked up another copy of Vij’s for my sister so we can choose dishes, do parallel cooking sessions, and compare notes on how we did. (More on this in future issues.)
The next time I’m in this situation, I’m definitely trying out the method J. Kenji Lopez-Alt describes in the latest episode of The Recipe with Kenji and Deb podcast—soaking stale bread in water, wringing it out, tearing it up into small pieces, and drying them in a low oven before blitzing them in a food processor.
“Later,” really means, “eventually.” I recently took an inventory of what’s in our freezers and there are an alarming number of bags of bones, scraps, and crustacean shells waiting to be turned into stock.
Cough, cough, gouging, cough, profiteering, cough.
And if you’re using Sheldon Creek Dairy’s absolutely gorgeous 45% cream, which goes for $14.50 per pint, then you’re still better off buying St. Brigid’s equally gorgeous butter, which goes for over $13 for 250 grams!
Except maybe the St. Brigid’s mentioned above. It’s pretty special.
Cow’s makes a cultured sea salt butter as well, but it’s not the same.
A batch I once made wanting to push the culturing period past 48 hours developed pink mold, which can indicate the presence of listeria.
That’s about a $3 value, which might just tip this home buttermaking into the black!
Rangoli was an early casualty of COVID lockdowns.


